OTA
A rollout is four steps: build an image whose version is higher than what the fleet is running, upload it under OTA → Images, create a job under OTA → Jobs, then watch the per-node status until every node has either succeeded or told you why it didn't.
Two screens do the work:
- Images — the firmware binaries you have uploaded, with their metadata.
- Jobs — the rollouts, each targeting one node or a node group.
1. Build the image
The node rejects a job whose version is not higher than what is running. Bump it before you build — see set the firmware version.
Then build, and take the right artifact. The full table is under which file to upload.
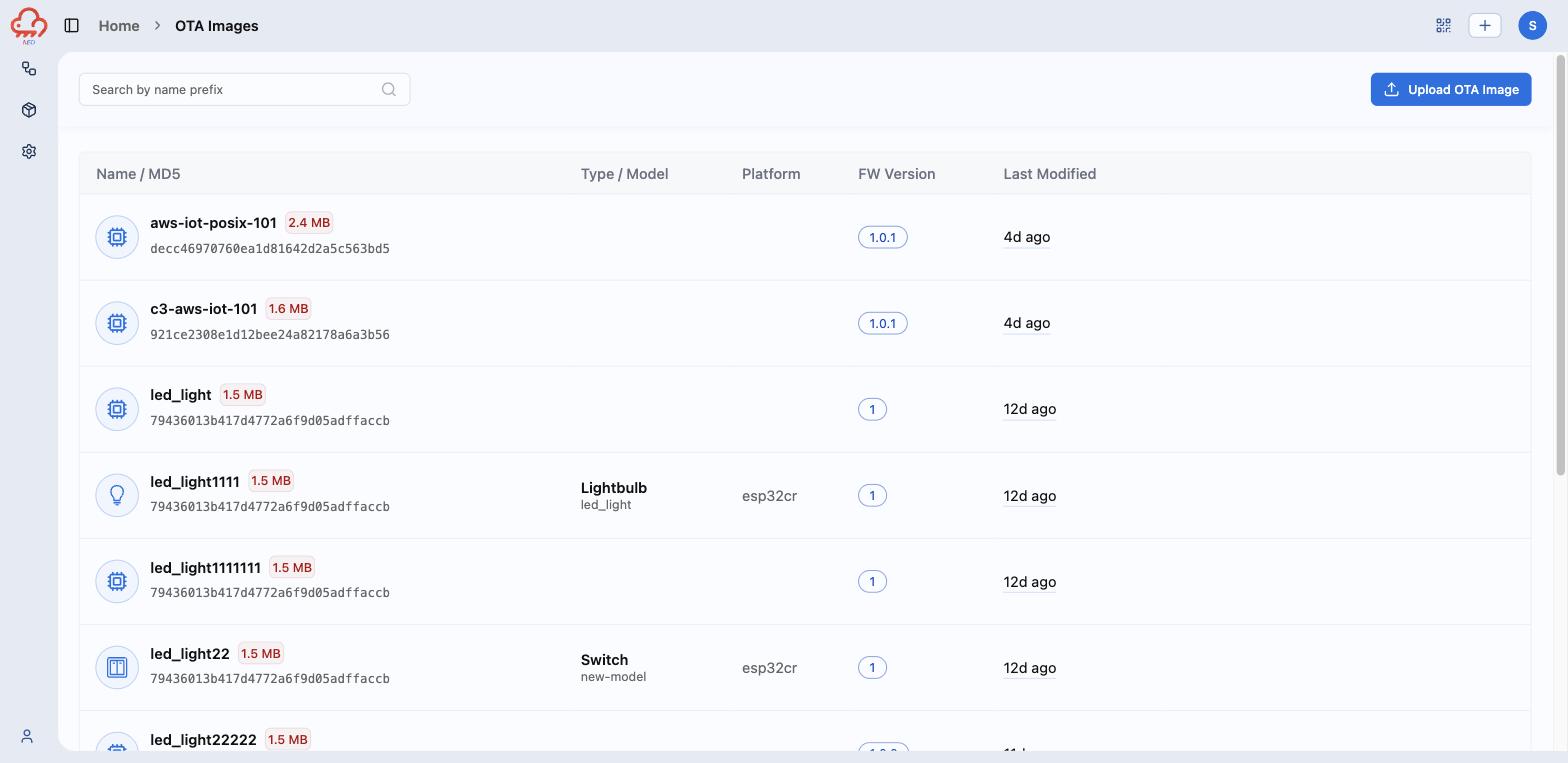
2. Upload it under OTA → Images
OTA → Images → Upload OTA Image opens a three-part form.
Select OTA Image — drop the file or Browse. Accepted: .bin, .elf, .img, .hex, .ota.
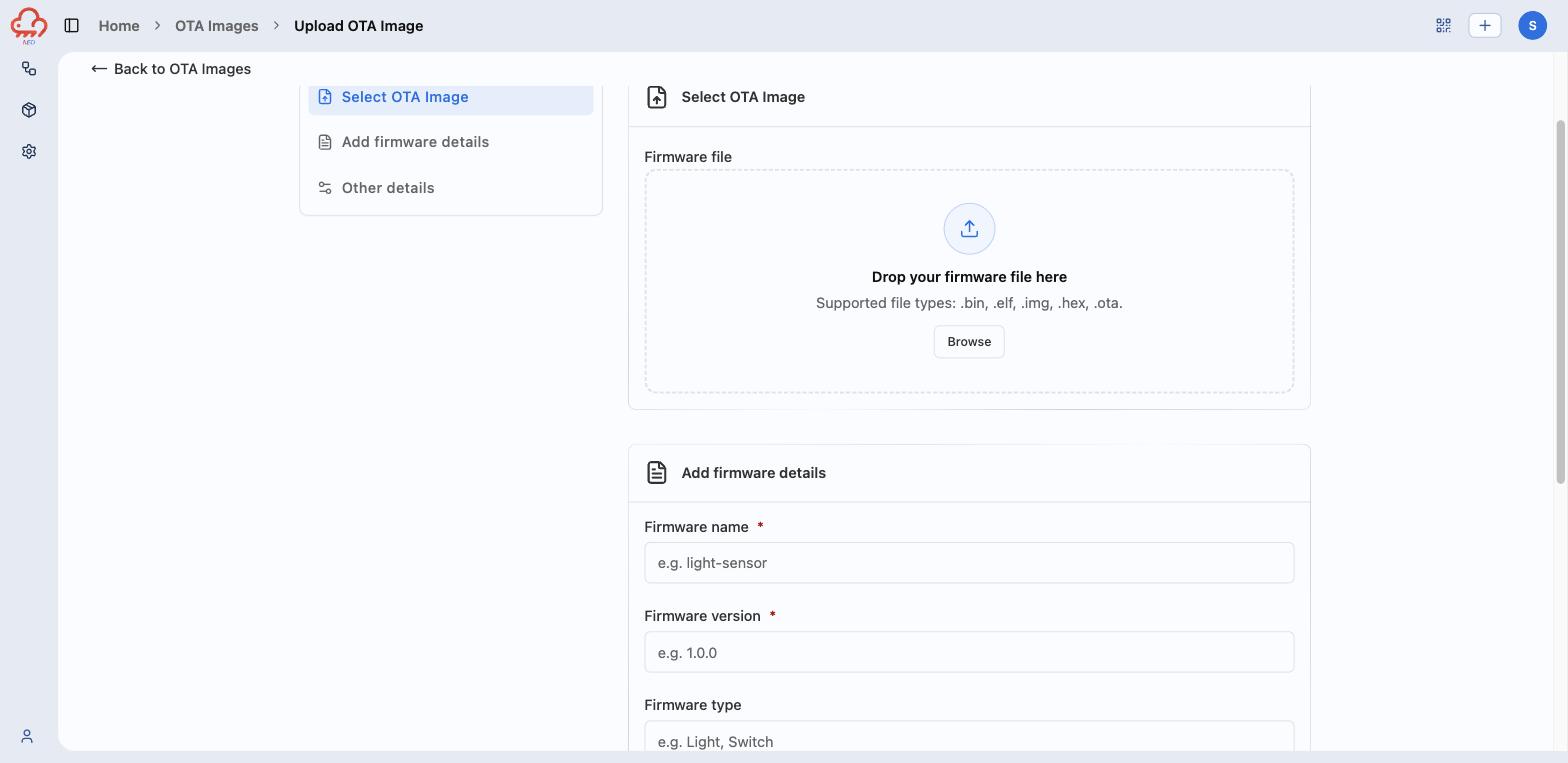
Add firmware details
| Field | Required | Notes |
|---|---|---|
| Firmware name | yes | How you will find this image in the job form. Must be unique. |
| Firmware version | yes | The version you just built — e.g., 1.1.0. This is what the node compares against. |
| Firmware type | no | The device type the image is for, e.g. Light, Switch. |
Other details
| Field | Required | Notes |
|---|---|---|
| Target model | no | e.g. 3C_DL, WS2812_STRIP, 1SOCK. |
| Platform | no | e.g. esp32, esp32c3, esp32s3. |
Target model and Platform are optional and still worth filling in — they are how you avoid
pushing an esp32c3 build at an esp32c6 node.
Upload OTA Image finishes it. The new row shows the name and MD5, the file size, type and model, platform, FW version, and when it was last modified. The search box above the table matches on name prefix.
3. Create the job under OTA → Jobs
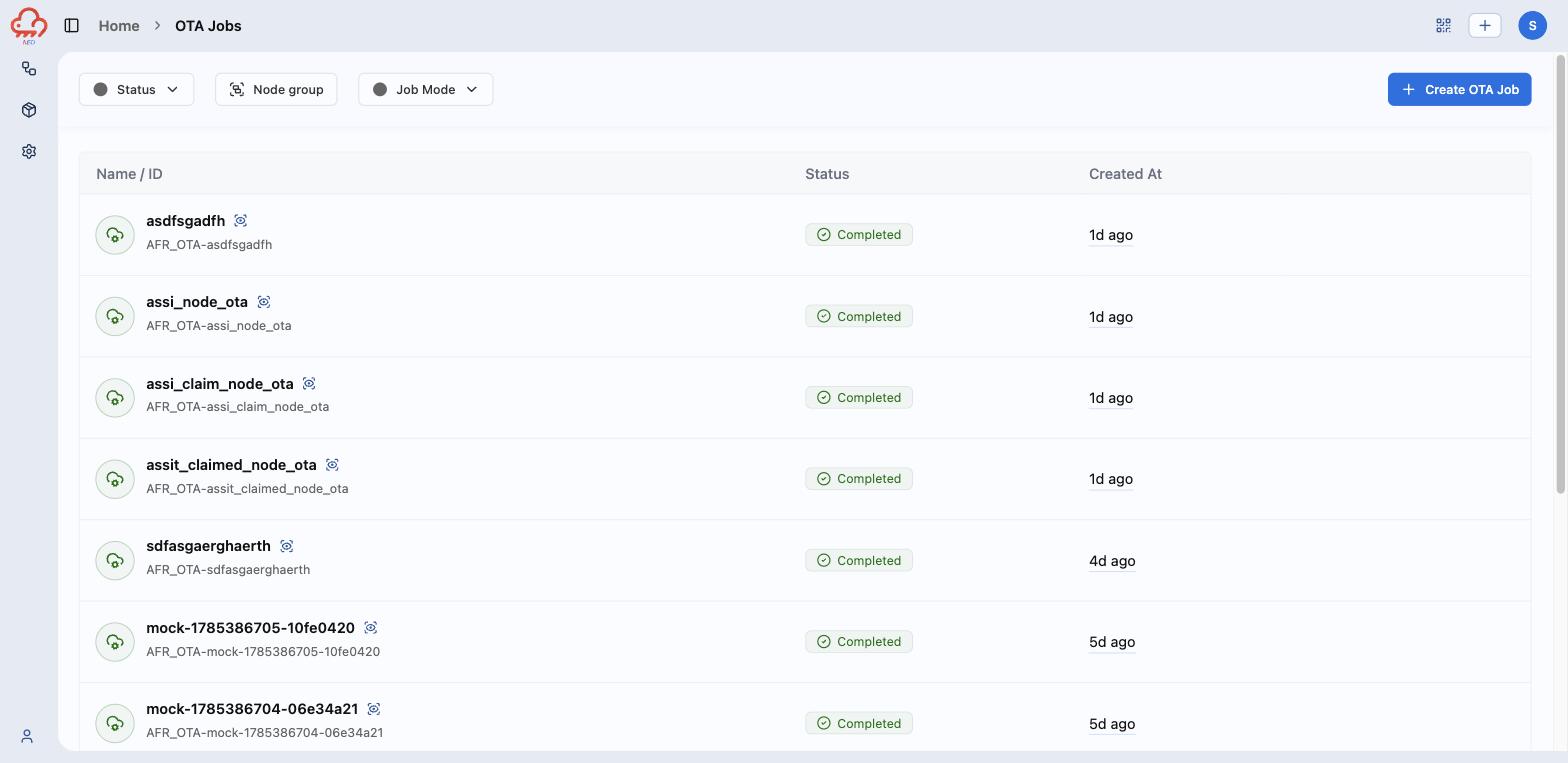
OTA → Jobs → Create OTA Job.
Basic details — give the job a Name, then pick the image you uploaded from the
Firmware Image dropdown. The name becomes part of the job ID: a job named
node_ota gets the ID AFR_OTA-node_ota. Name it after the rollout, not the
firmware, or your job list will be a wall of near-identical strings.
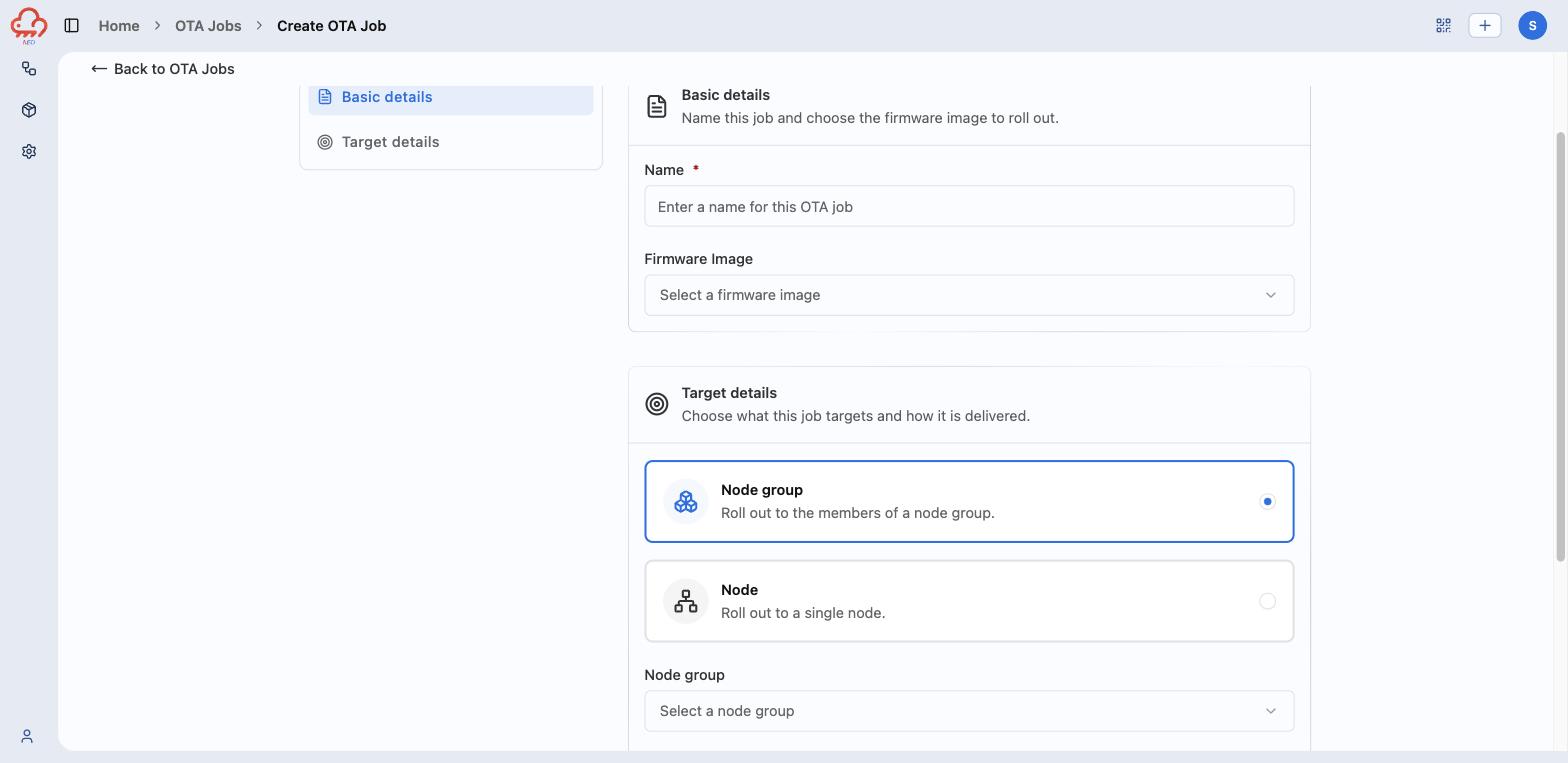
Target details — choose one:
- Node group — rolls out to the members of a group. Pick the group below the selector.
- Node — rolls out to a single node. Use this for the first flash of any new image.
With a node group you also get the Continuous toggle: leave it off and the job targets the group's members as they are right now; turn it on and nodes that join the group later receive the update too. Off is the safe default — a continuous job keeps handing out that image indefinitely.
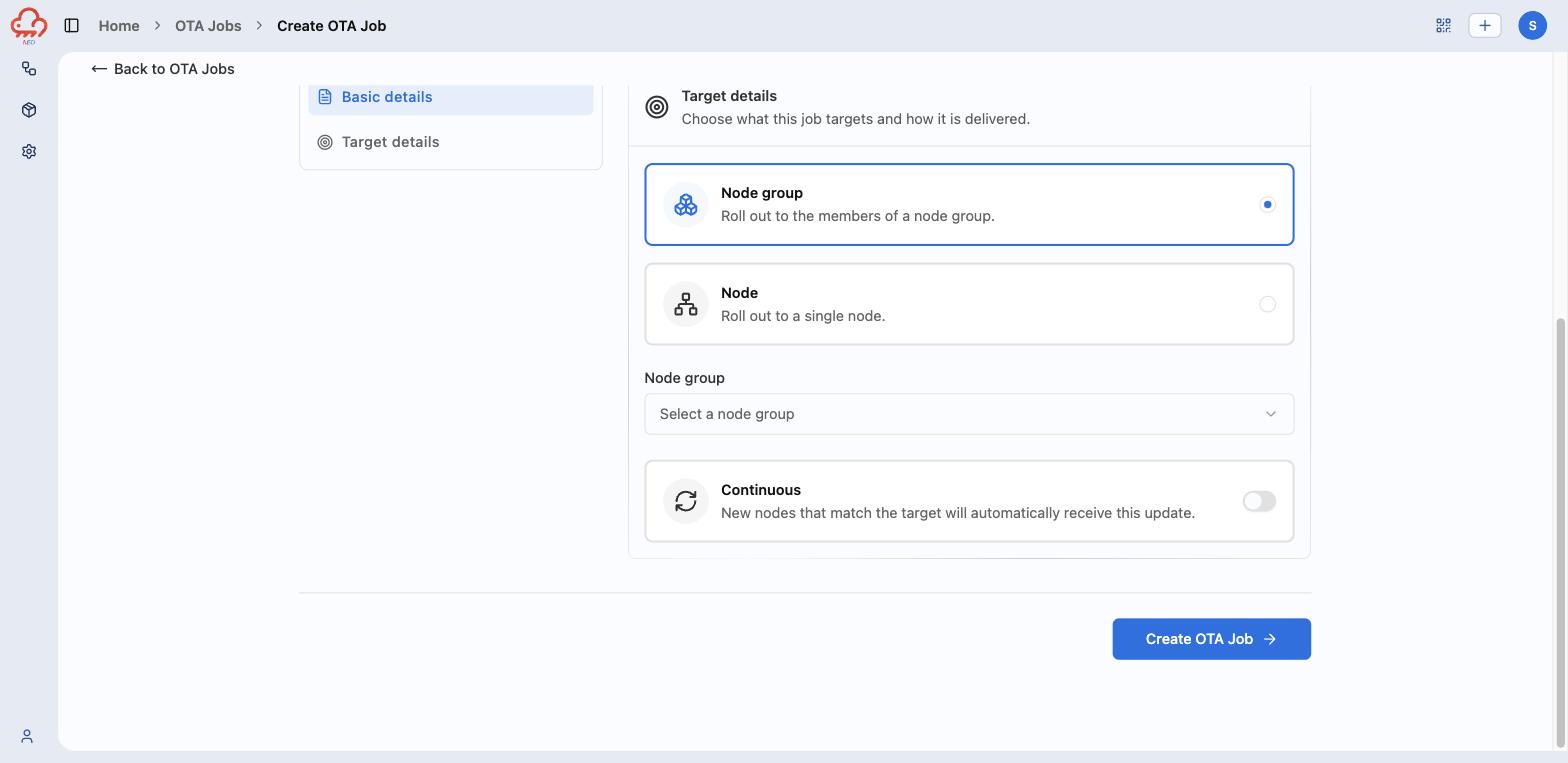
Create OTA Job starts it. There is no separate "start" action; creating the job is the rollout.
4. Monitor it
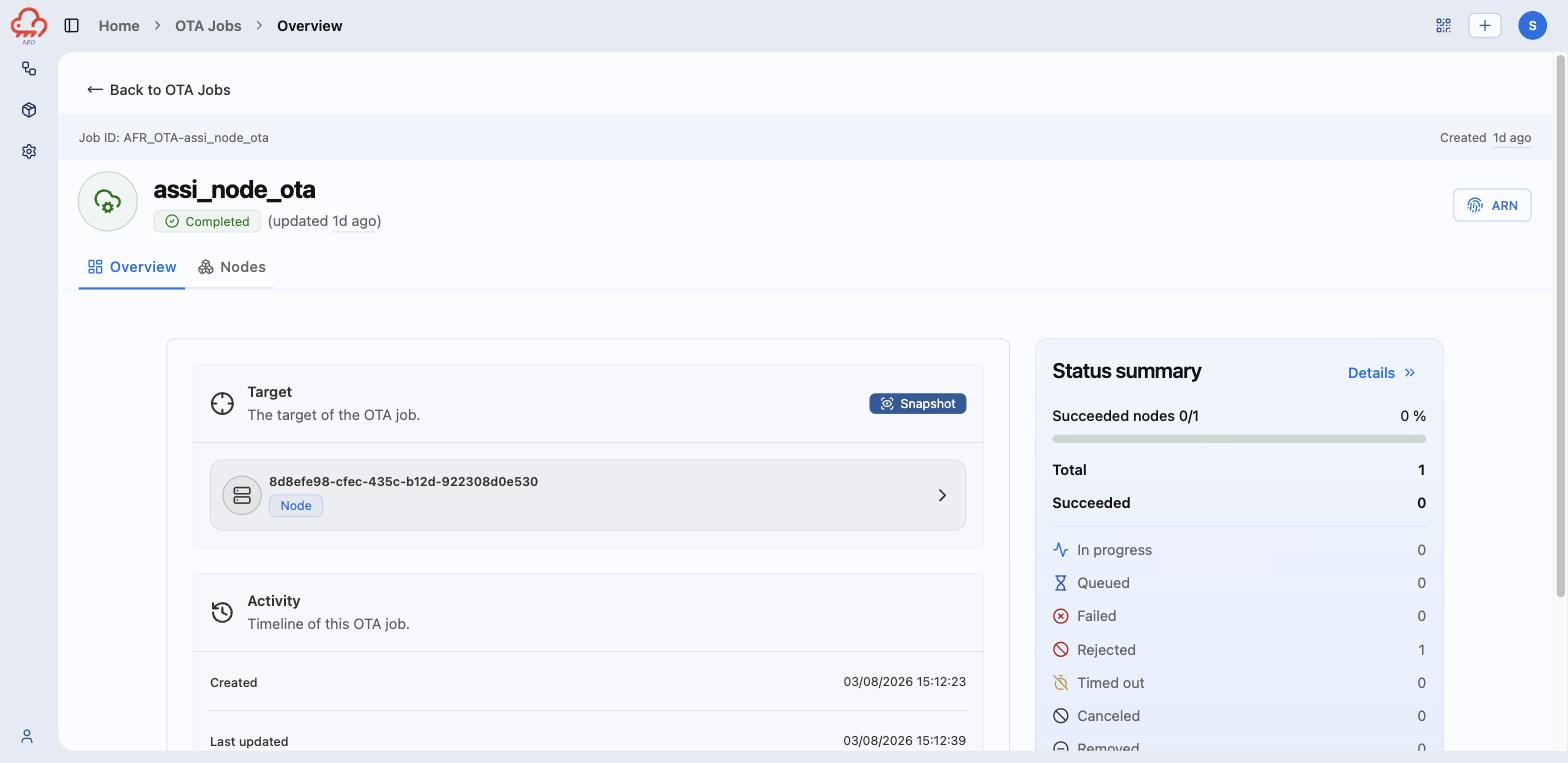
The job's page opens on Overview, with the job ID, the current status, and two tabs.
Overview gives you the shape of the rollout:
- Target — the node or group, badged Snapshot or Continuous.
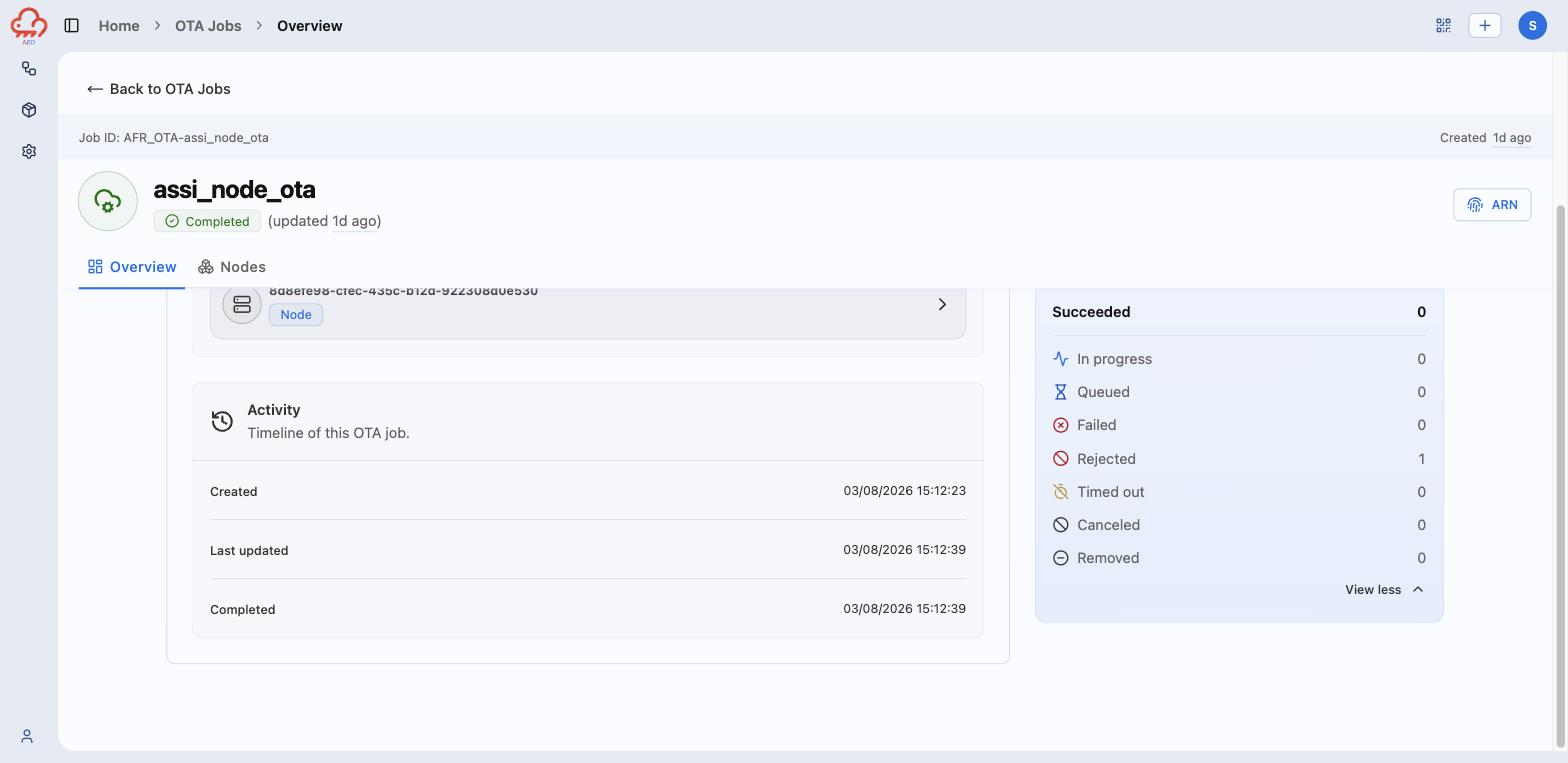
- Activity — created, last updated, and completed timestamps.
- Status summary — succeeded nodes as a fraction and a percentage, plus Total and Succeeded. View more expands the full breakdown: In progress, Queued, Failed, Rejected, Timed out, Canceled, Removed.
Nodes is where you go when the numbers aren't all in the Succeeded column: a bar of node counts by delivery status, and a Node executions table of every node's ID, status, and last update.
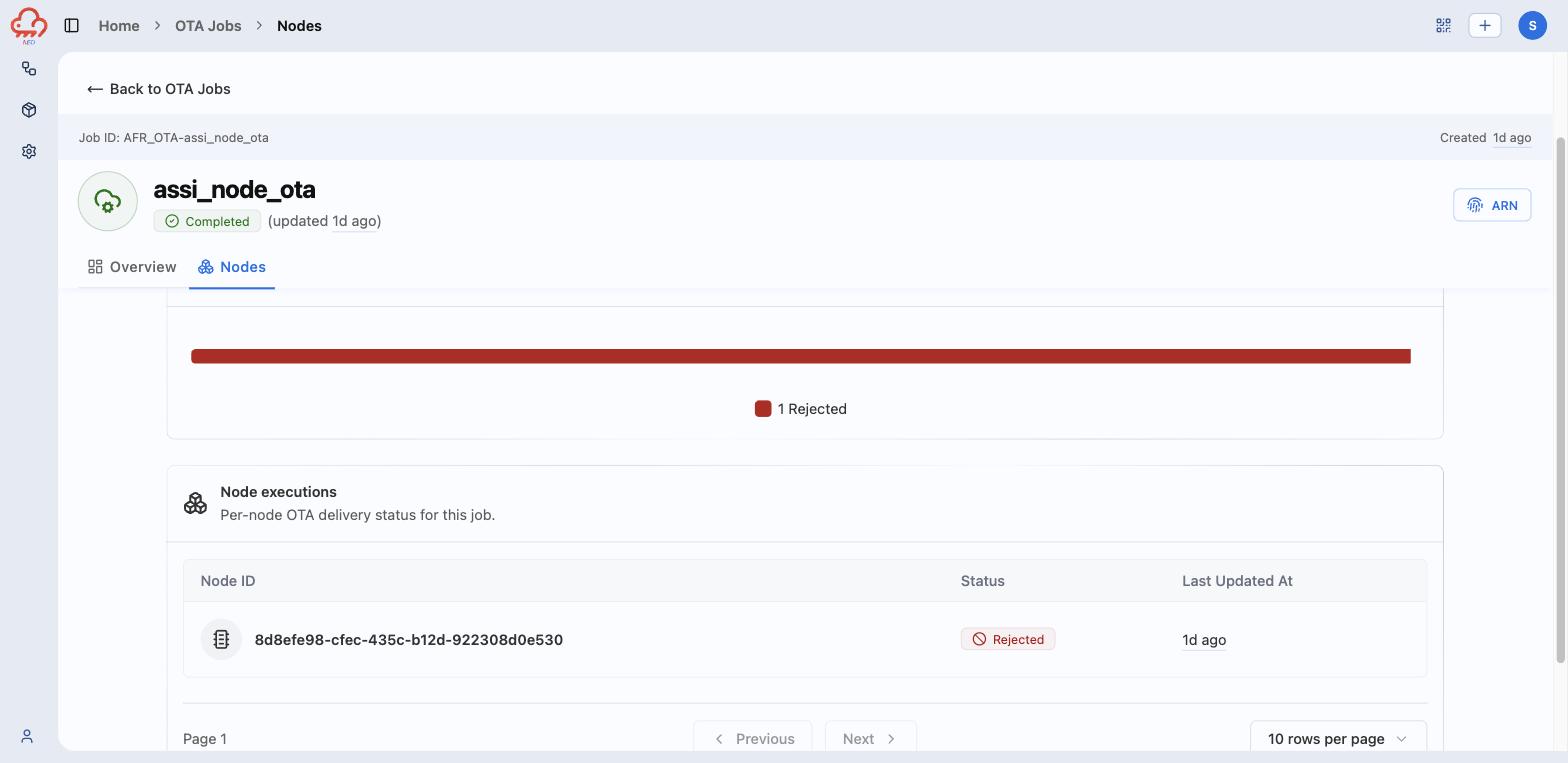
Watch for the job reaching Completed while Succeeded is still 0 — a completed job means
the rollout finished, not that it worked. Read the breakdown, not the badge. The job above is
exactly that case: Completed, one node, and that node rejected the image.
The Jobs list filters on Status, Node group, and Job Mode, which is how you find the one rollout you care about in a long history.
Checking a single node
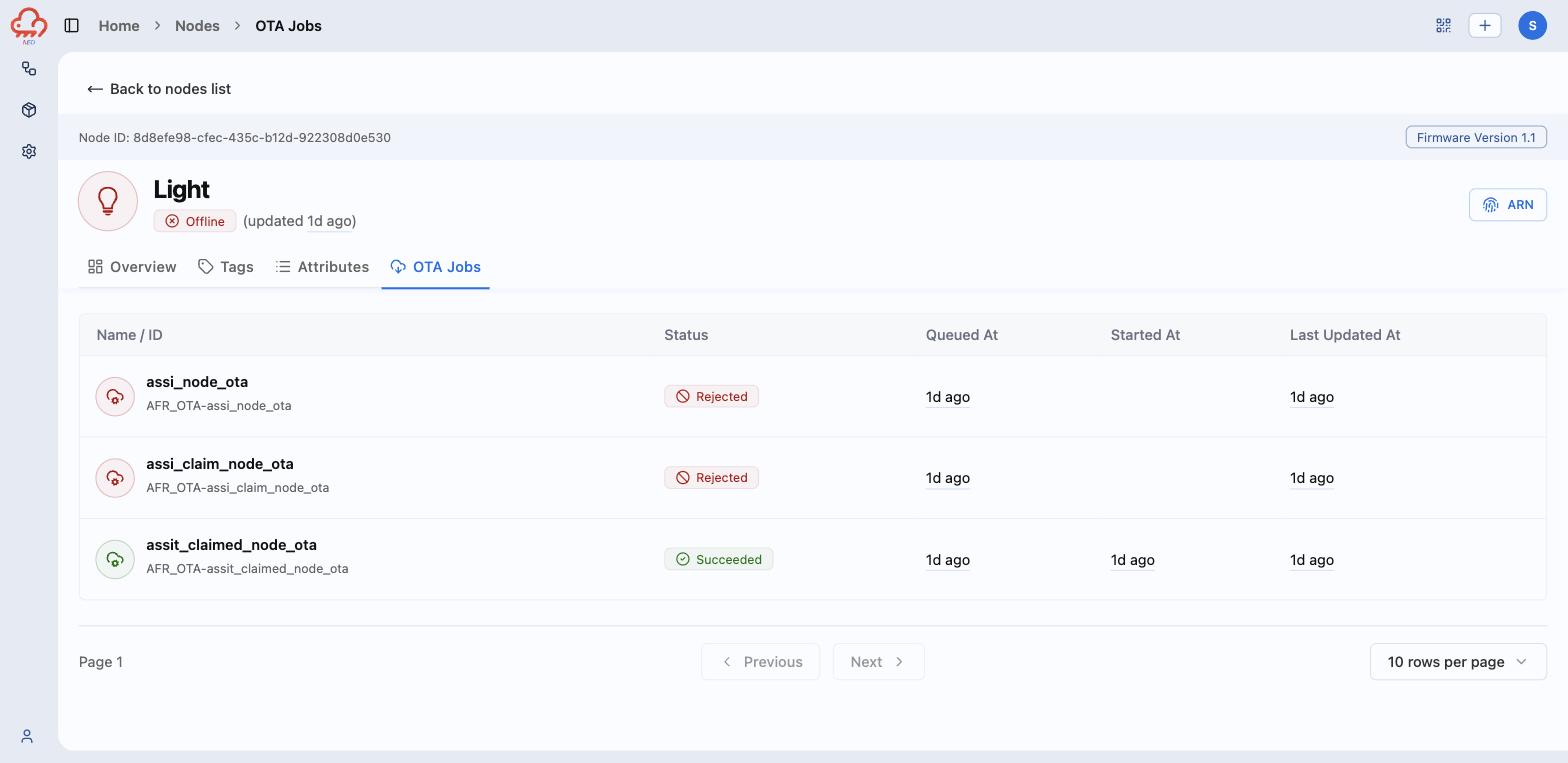
From Nodes, open a node and use its OTA Jobs tab: every job that targeted it, with status and the queued, started, and last-updated times. The node's header carries its current Firmware Version — that badge, not the job status, is the proof the new image is running.
When nodes reject the job
Rejected is the node refusing the image, not a delivery failure. Almost always one of:
- the version isn't higher than what's running,
- the model or platform doesn't match,
- the image reference was unusable.
Timed out and Failed are different animals — the node accepted the job and the download or flash didn't finish. The firmware troubleshooting table maps each symptom to a cause.
Related
- OTA firmware updates (firmware guide) — versioning, artifacts, and how the node consumes a job
- OTA feature overview — the platform view: jobs, policies, and delivery over MQTT file streams
- Node groups — building the target for a group rollout