Setting up devices
Add Nodes to the app, reset or remove them, organise them into Rooms, and link a voice assistant. Bluetooth and Wi-Fi on the phone must be on, and the phone should be on a 2.4 GHz Wi-Fi network before you provision.
Scan QR code to add a device
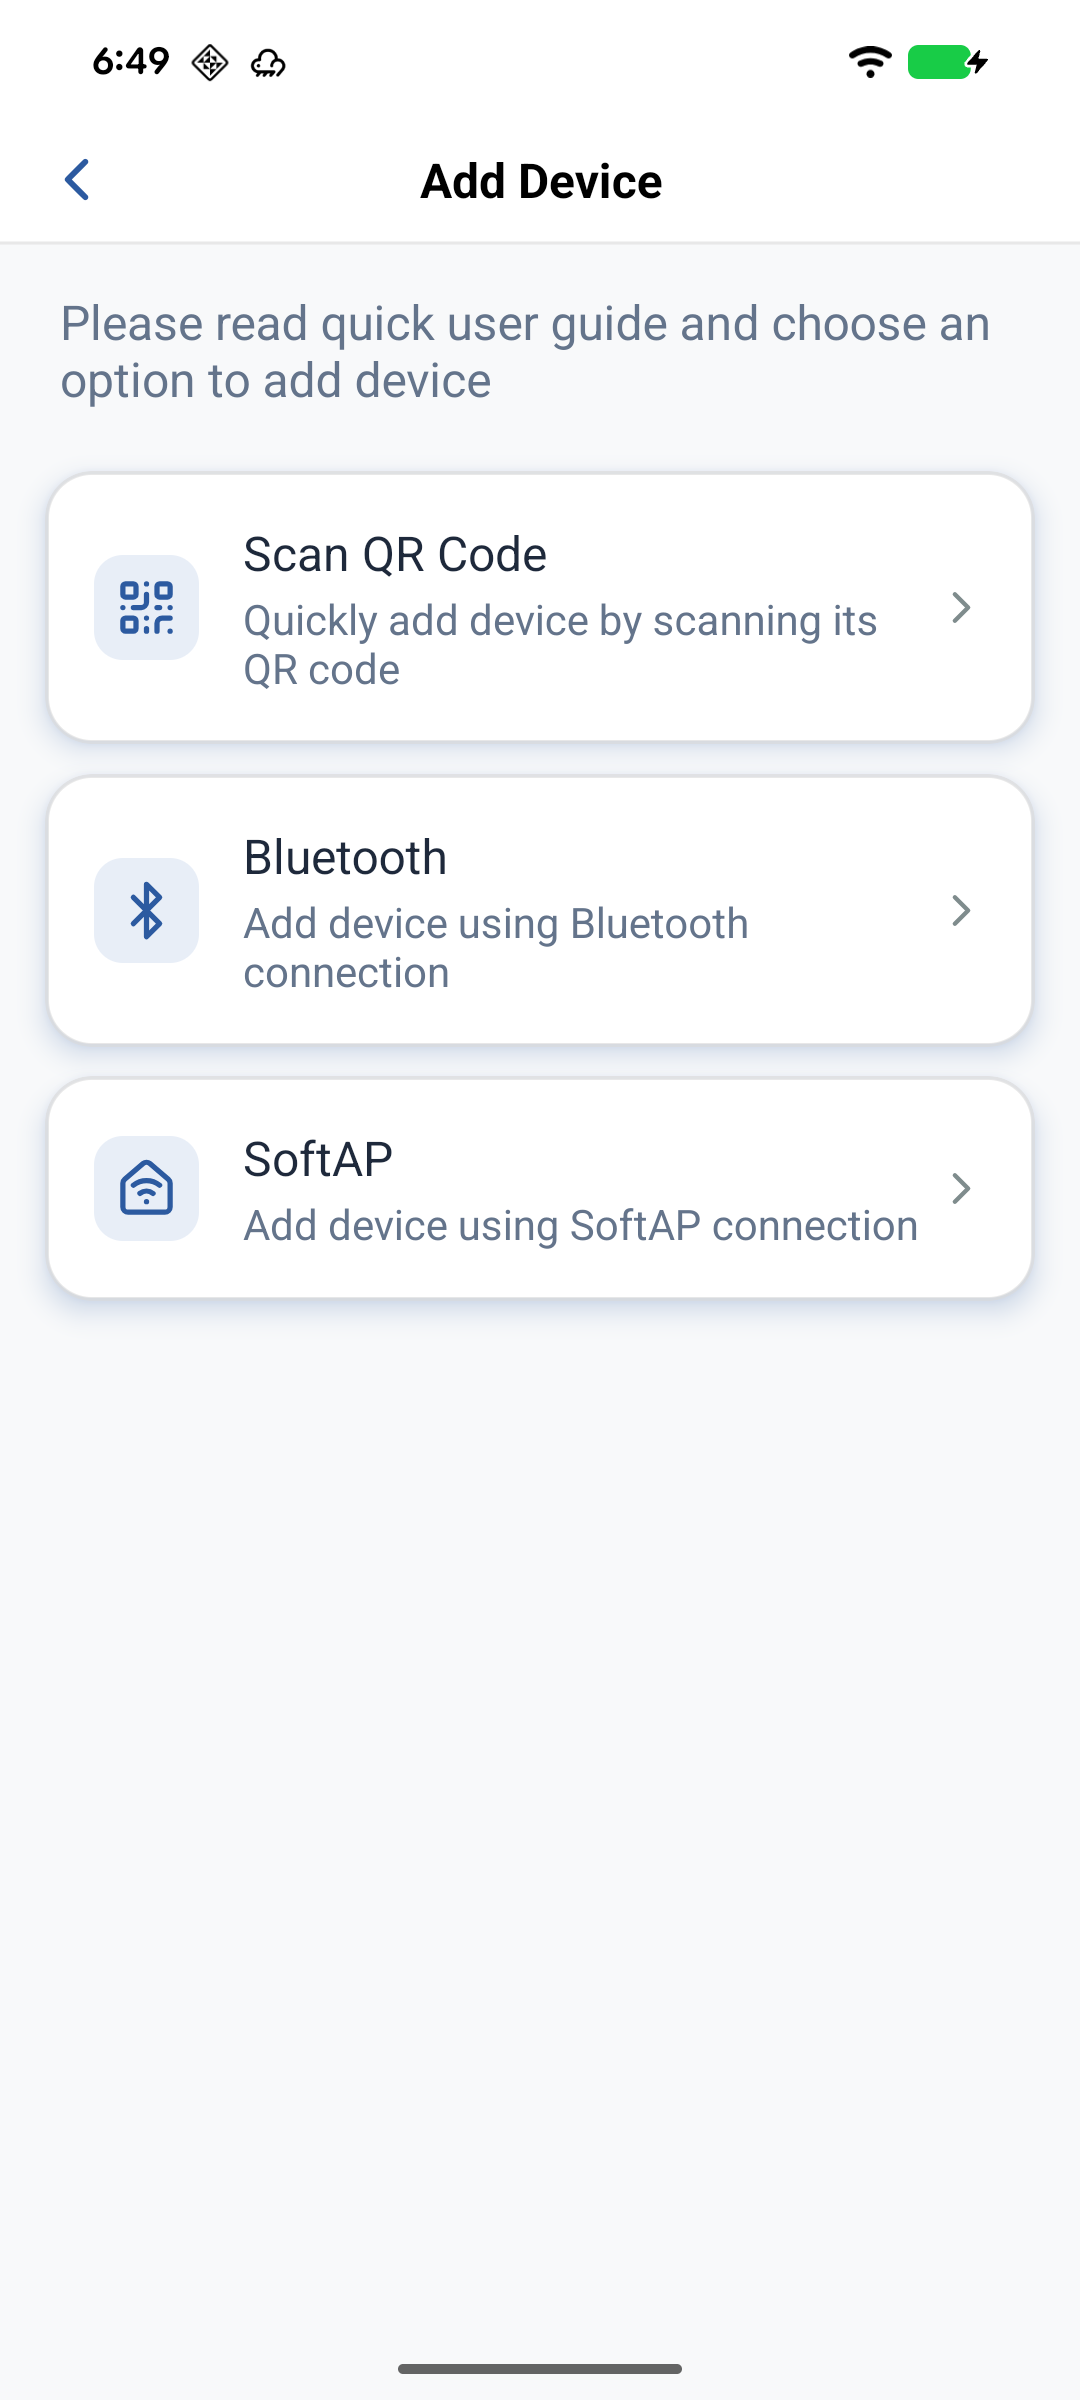
- On the Home page, tap + in the top-right corner, then tap Scan QR Code.
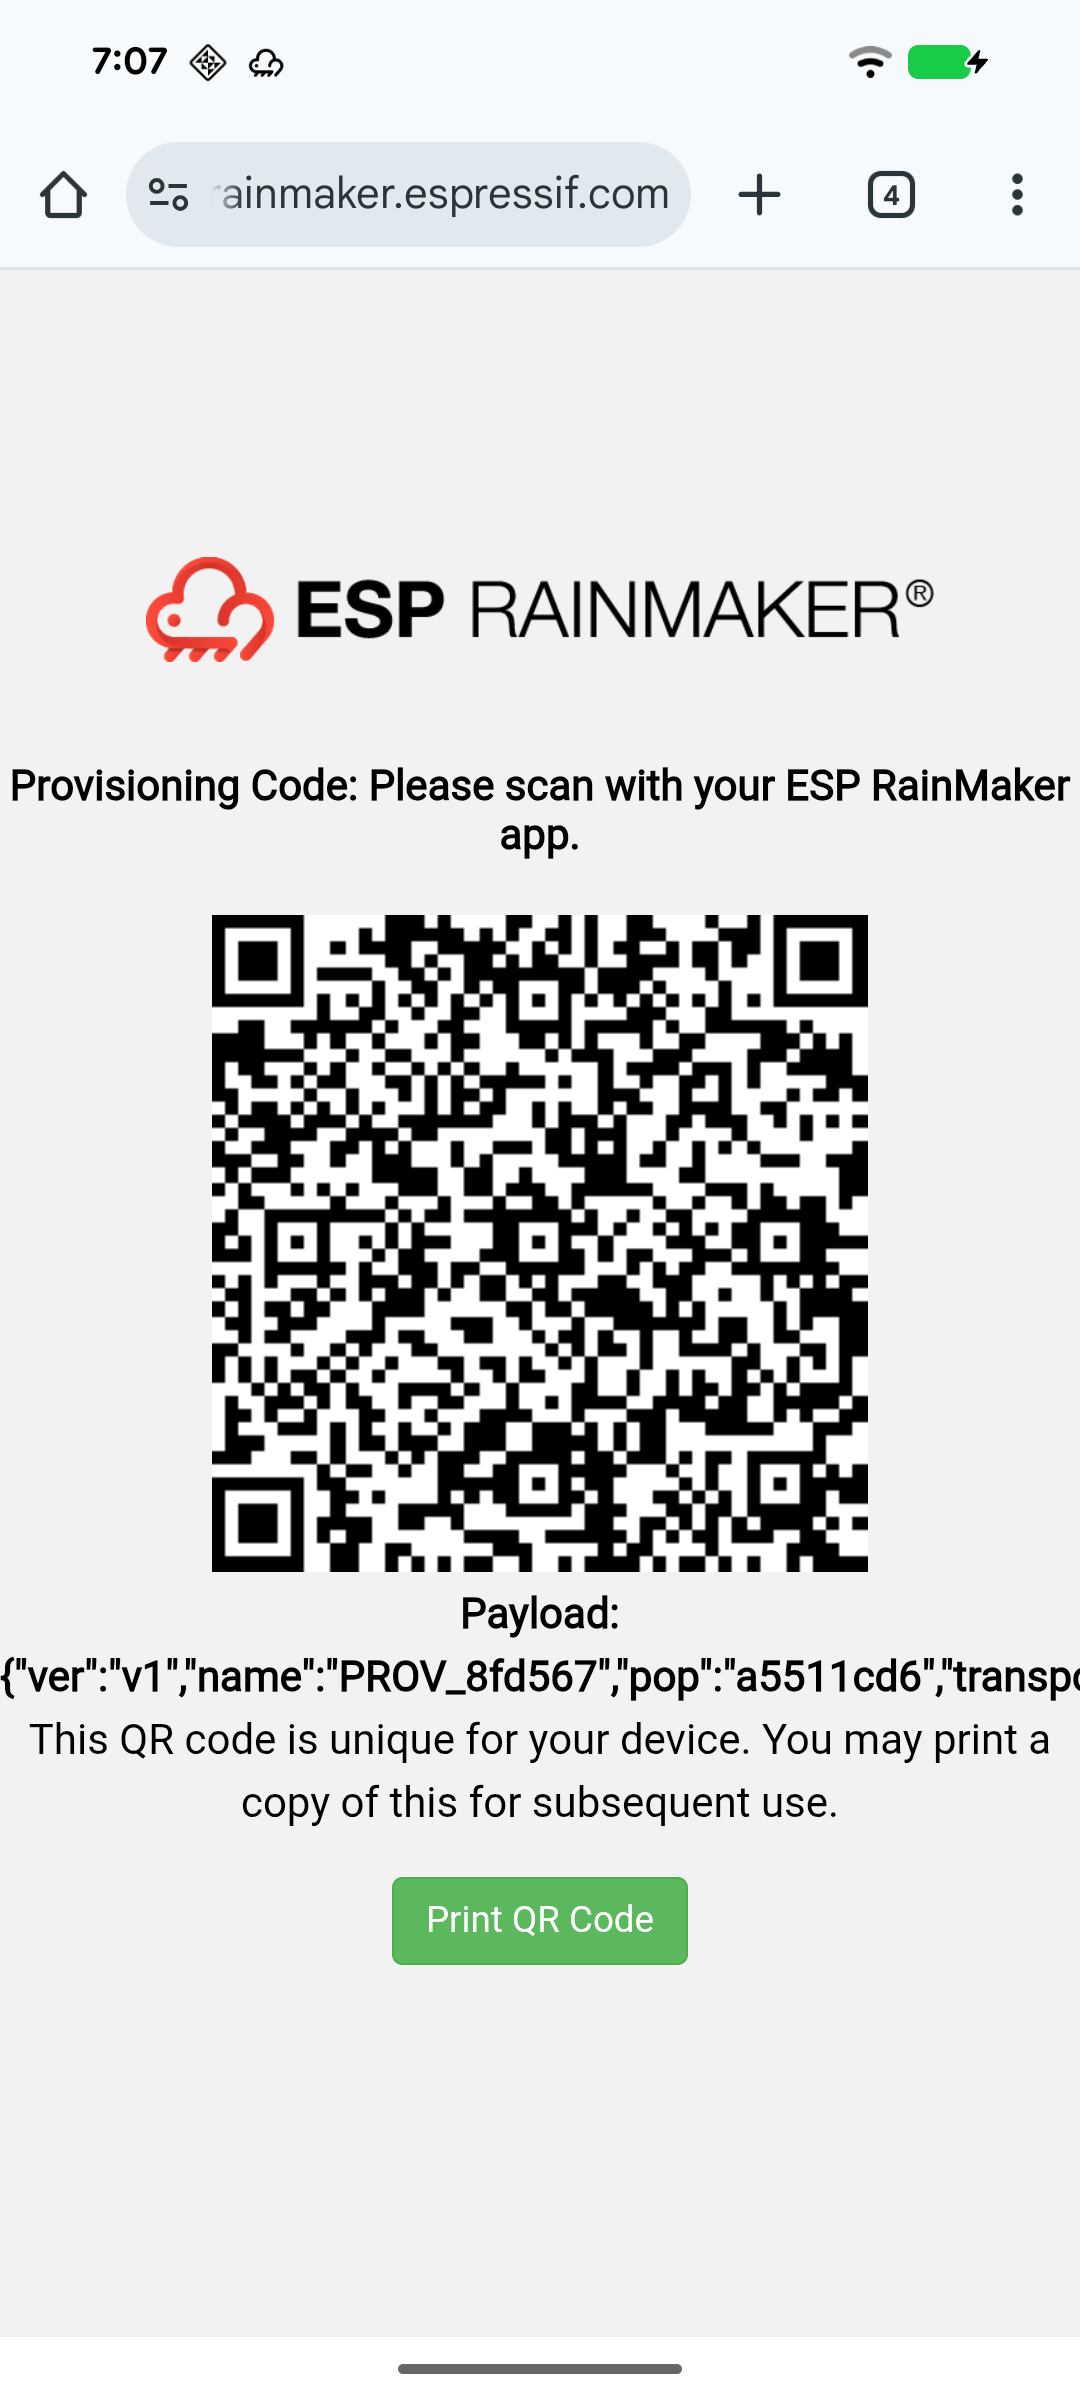
- Scan the device QR (serial console after flash, or the printed label).
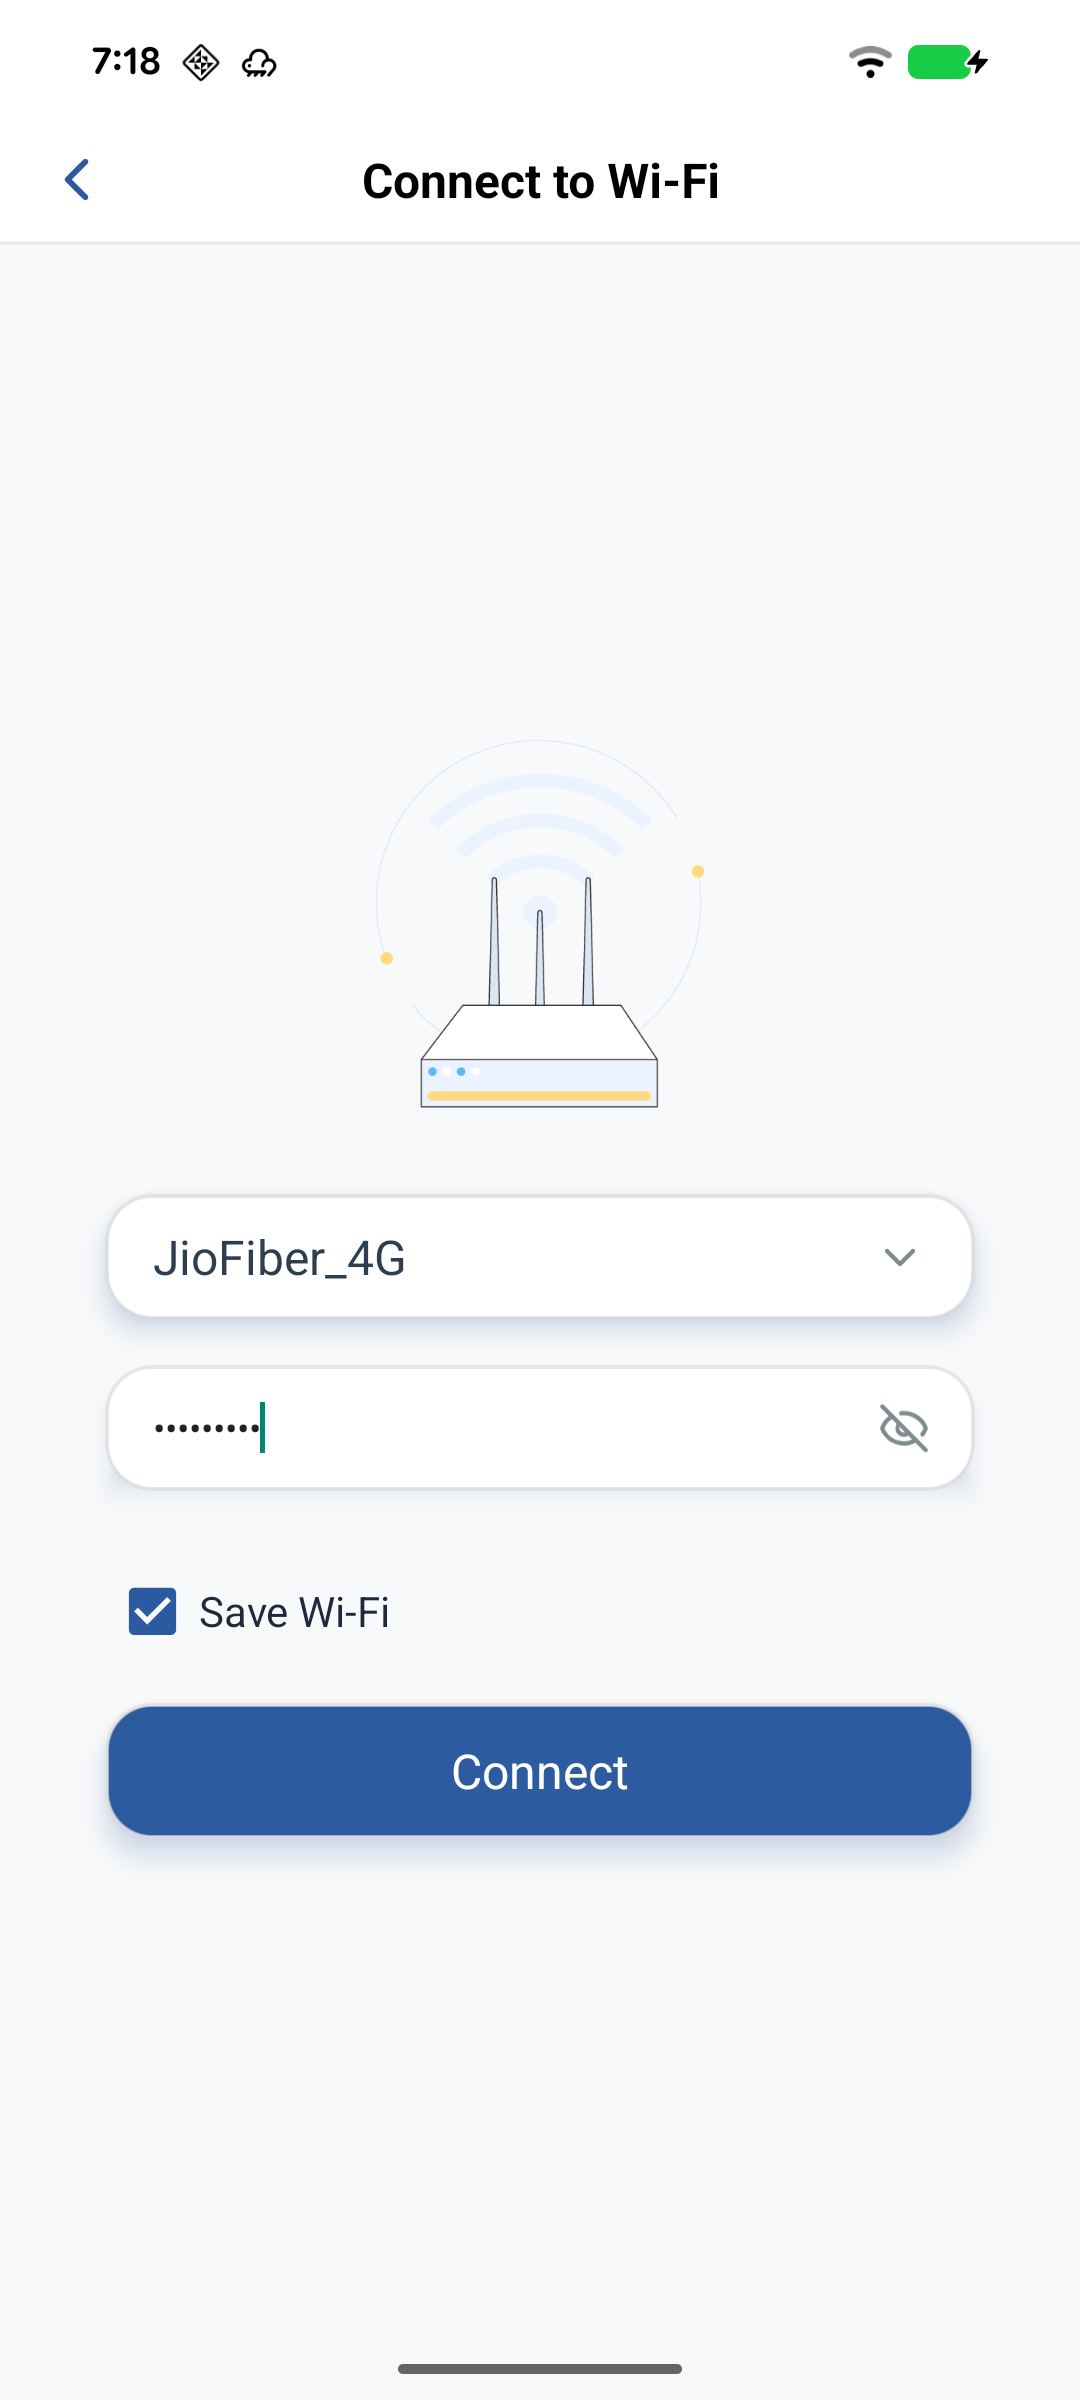
- Enter the Wi-Fi password and tap Connect.
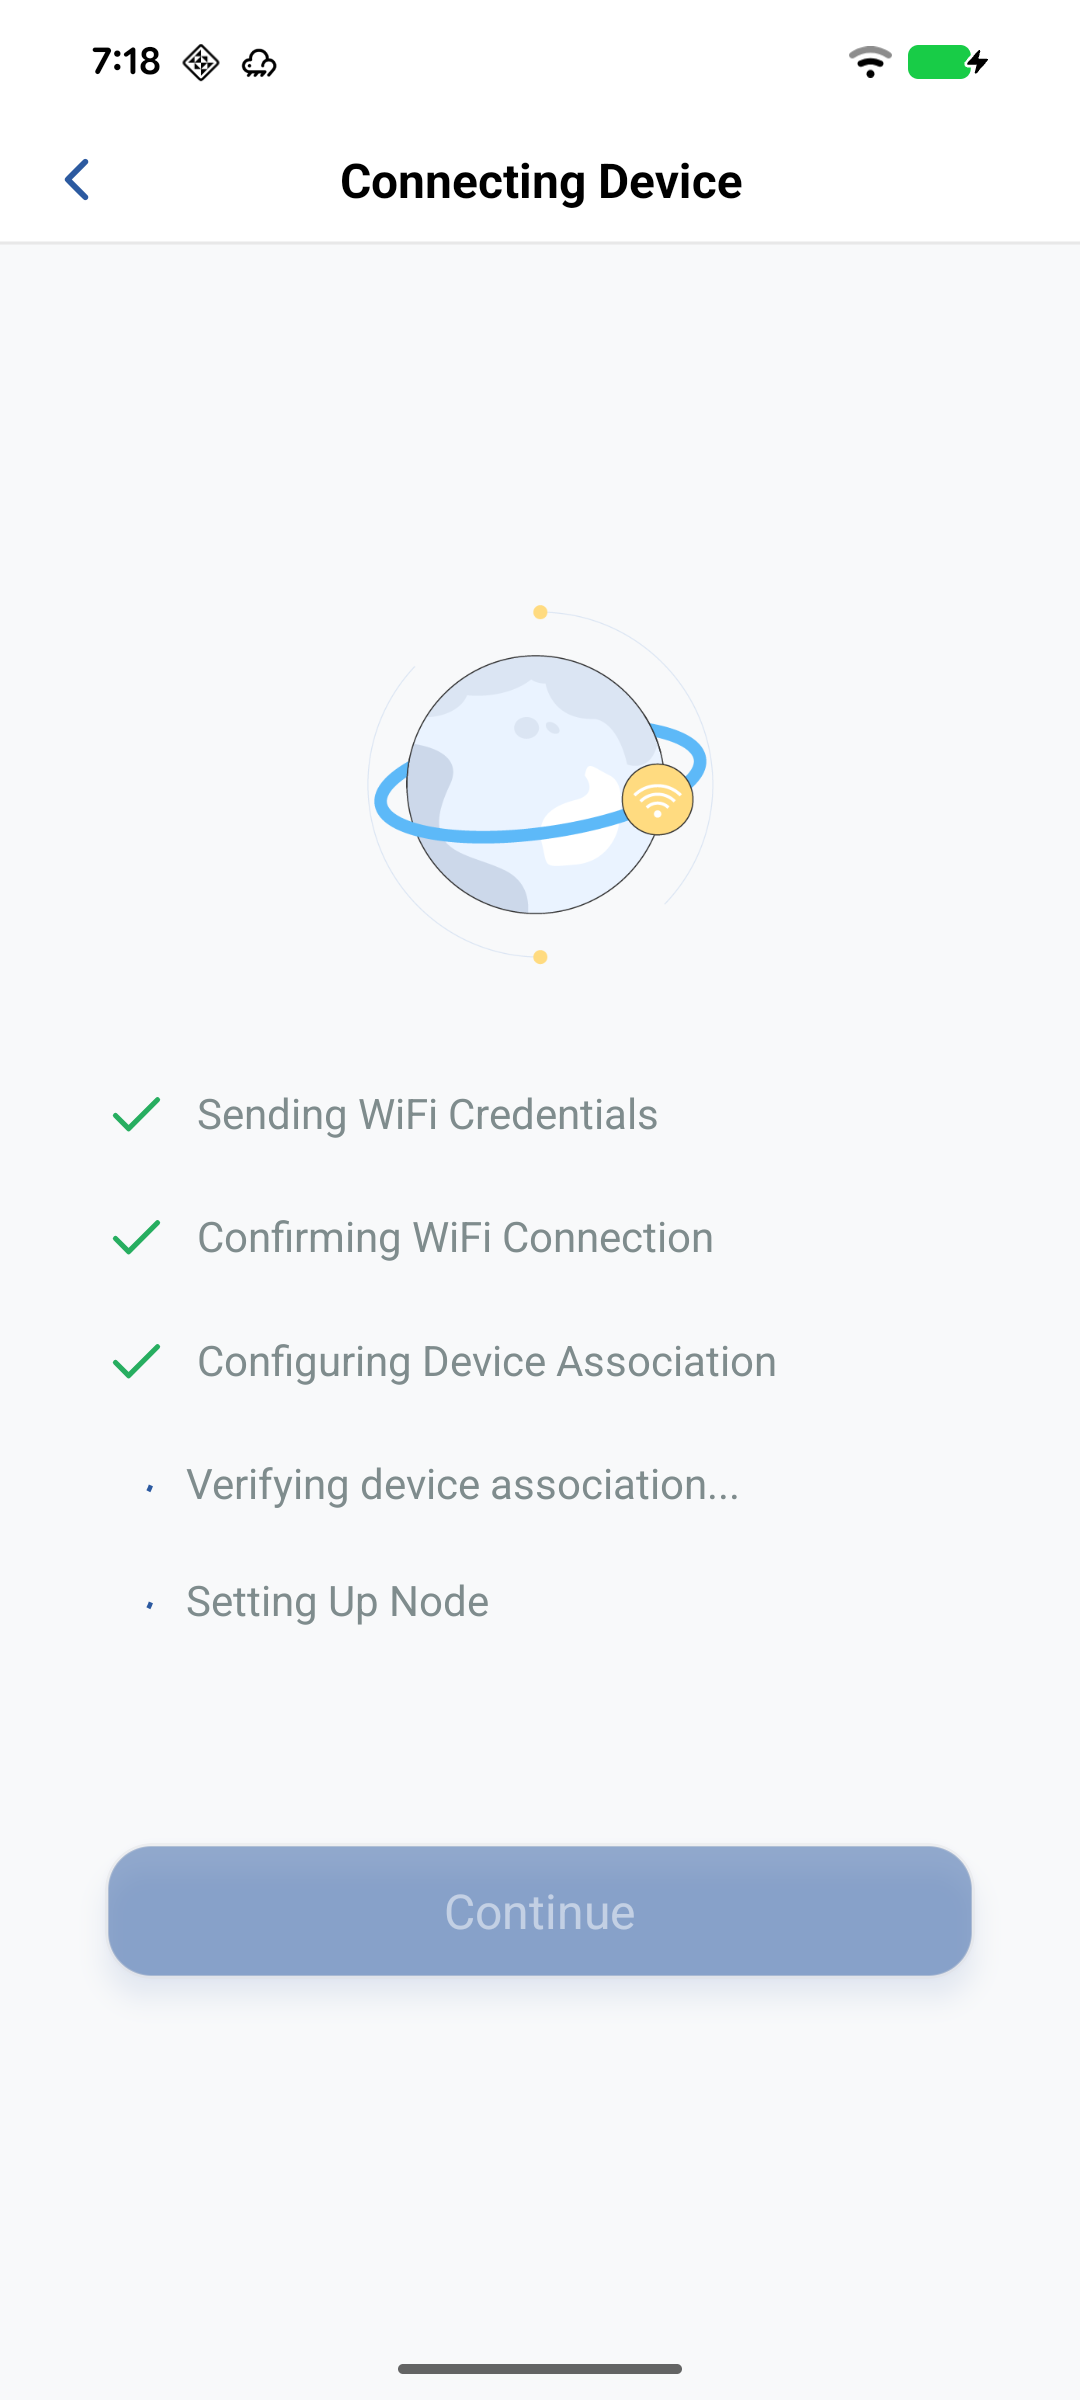
- When provisioning finishes, set the device name, Home/Room, and optional sharing.
Manually add devices
Using BLE provisioning
Prerequisites: Bluetooth and Location on; phone on 2.4 GHz Wi-Fi.
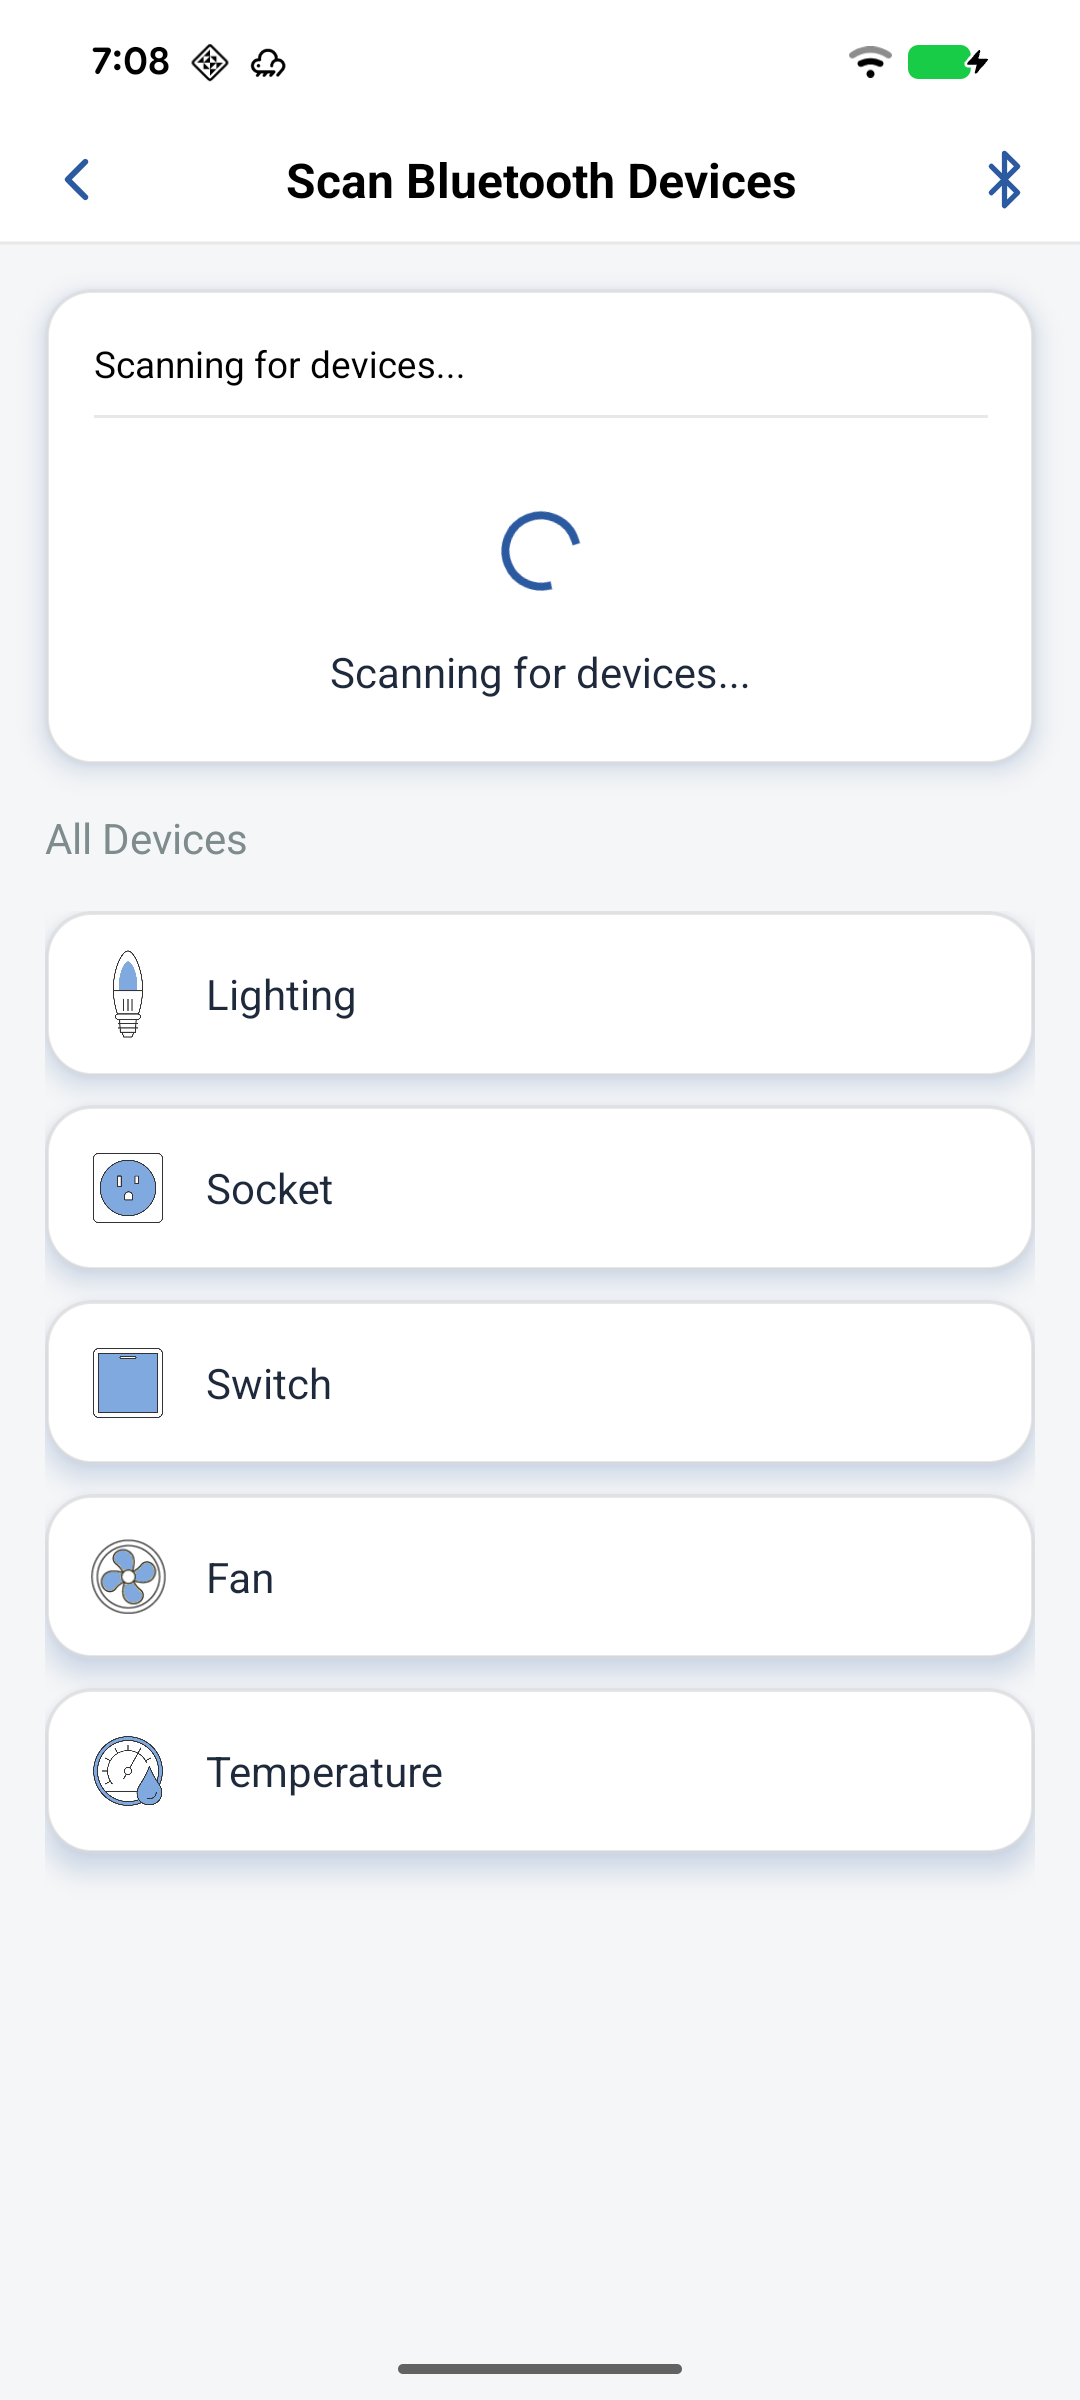
- On Add Device, tap Bluetooth.
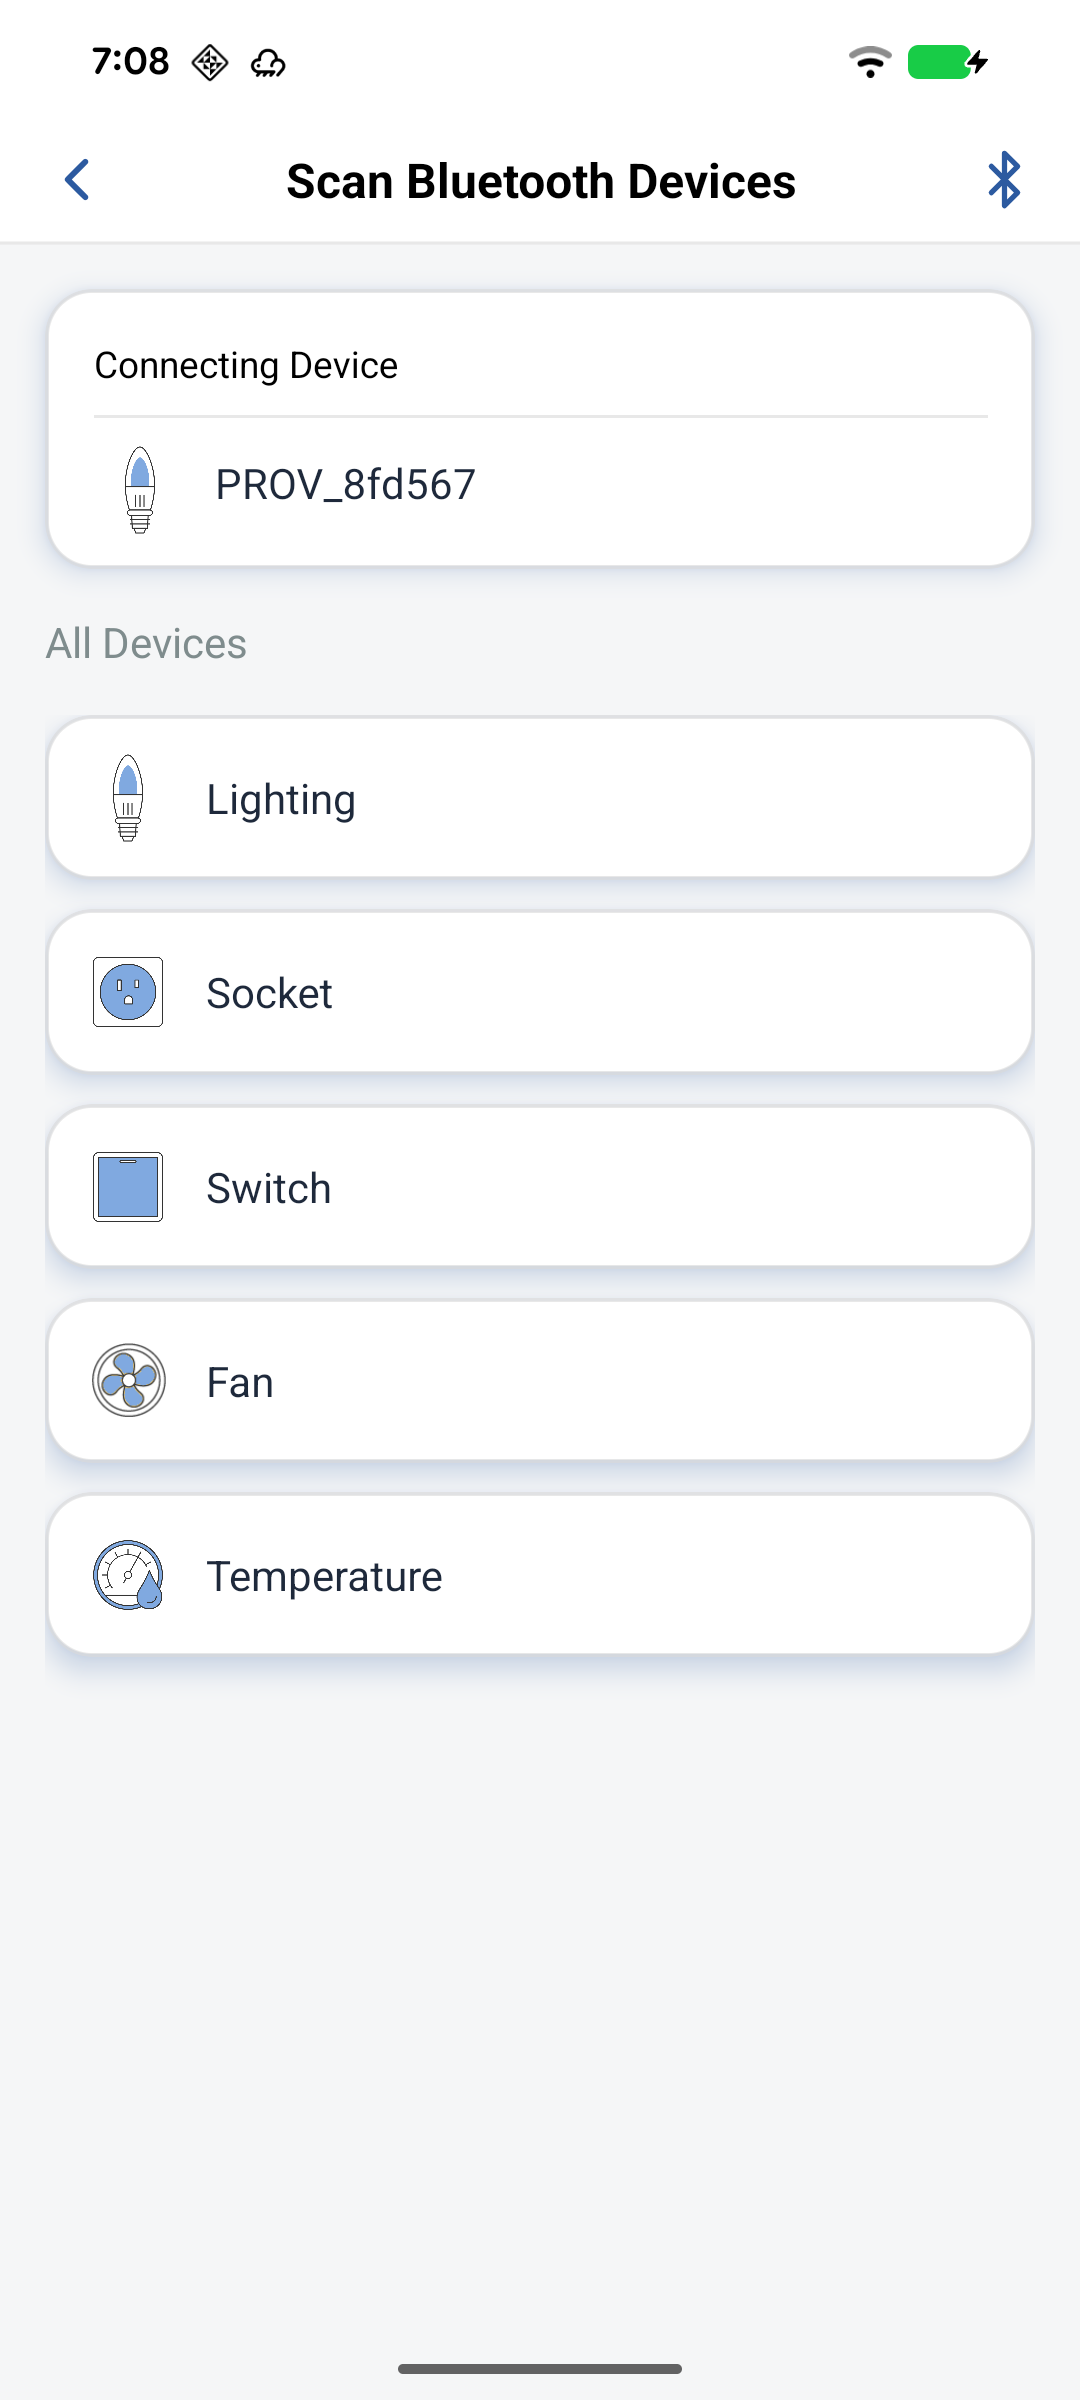
- Wait for the scan, then tap your device. Use Refresh if it does not appear. Connection takes a few seconds.
- If prompted, enter the Proof of Possession code from the device label and tap Verify.
- Choose the Wi-Fi network, or enable Join Other Network for a hidden SSID.
- Enter the password, optionally check Remember this network, and tap Connect.
- Wait for provisioning (about 10–30 seconds). Do not close the app.
- Tap Continue. The device appears on the Home screen.
Using SoftAP provisioning
Prerequisites: Location on; phone on 2.4 GHz Wi-Fi; device broadcasting its SoftAP.
- On Add Device, tap SoftAP.
- Connect the phone to the device network:
- iOS: Tap Go to Wi-Fi Settings, join the device SSID, return to the app, tap Continue.
- Android: Select the SoftAP device from the list, tap Connect to Device. Use Refresh if needed.
- If prompted, enter the Proof of Possession code and tap Verify.
- Choose the home Wi-Fi network (or Join Other Network), enter the password, tap Connect.
- Wait for provisioning. On iOS the phone leaves the SoftAP and joins home Wi-Fi during this step.
- Tap Continue. The device appears on the Home screen.
Reset a device (example: bulb)
If the bulb stays steadily on, it is connected. To factory-reset, power it off and on with a two-second interval, five times, until it flashes yellow and is ready to provision again.
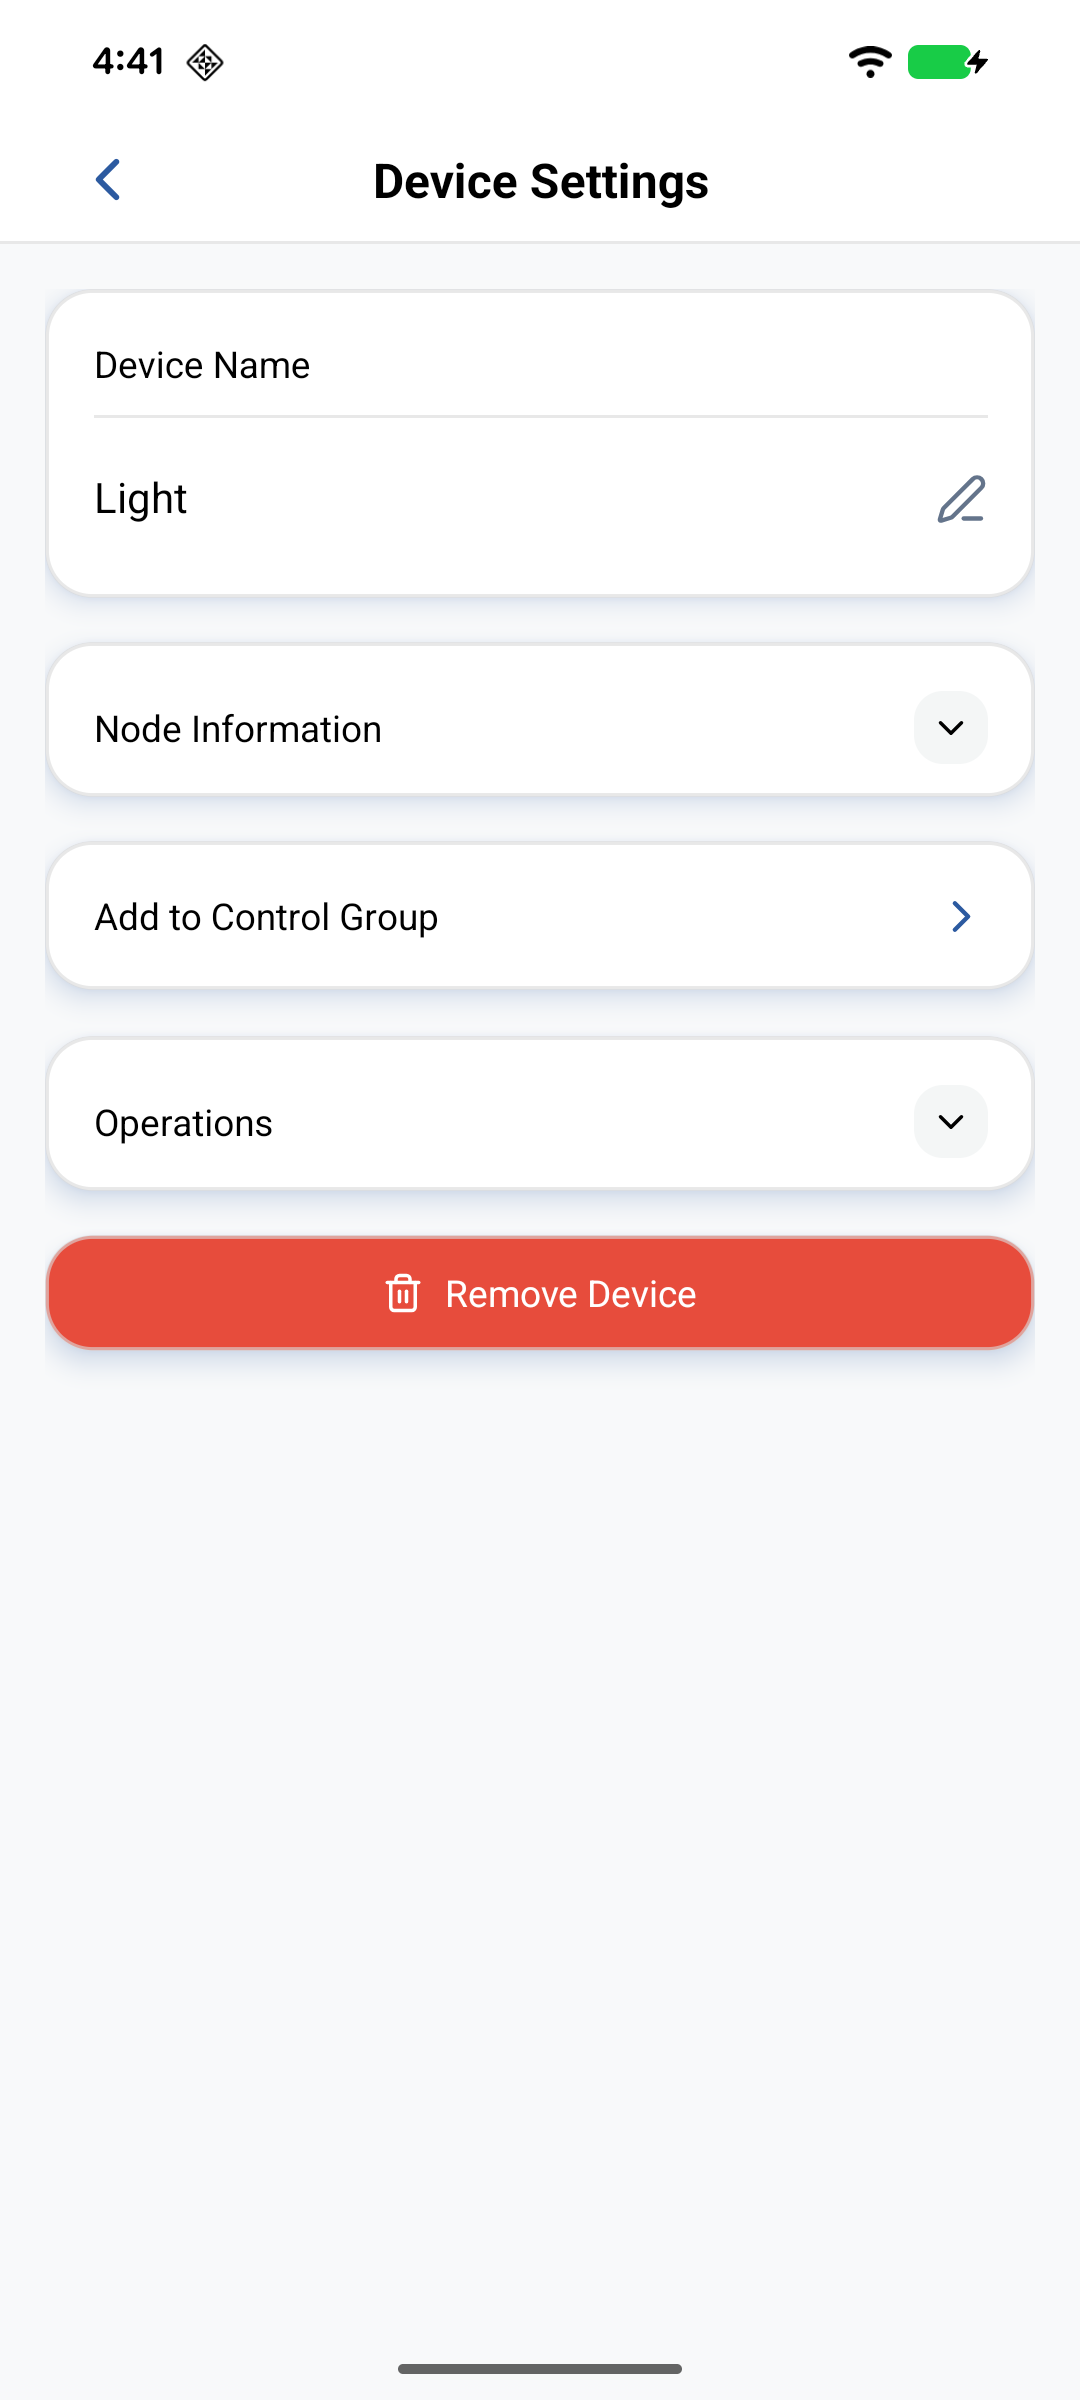
Delete a device
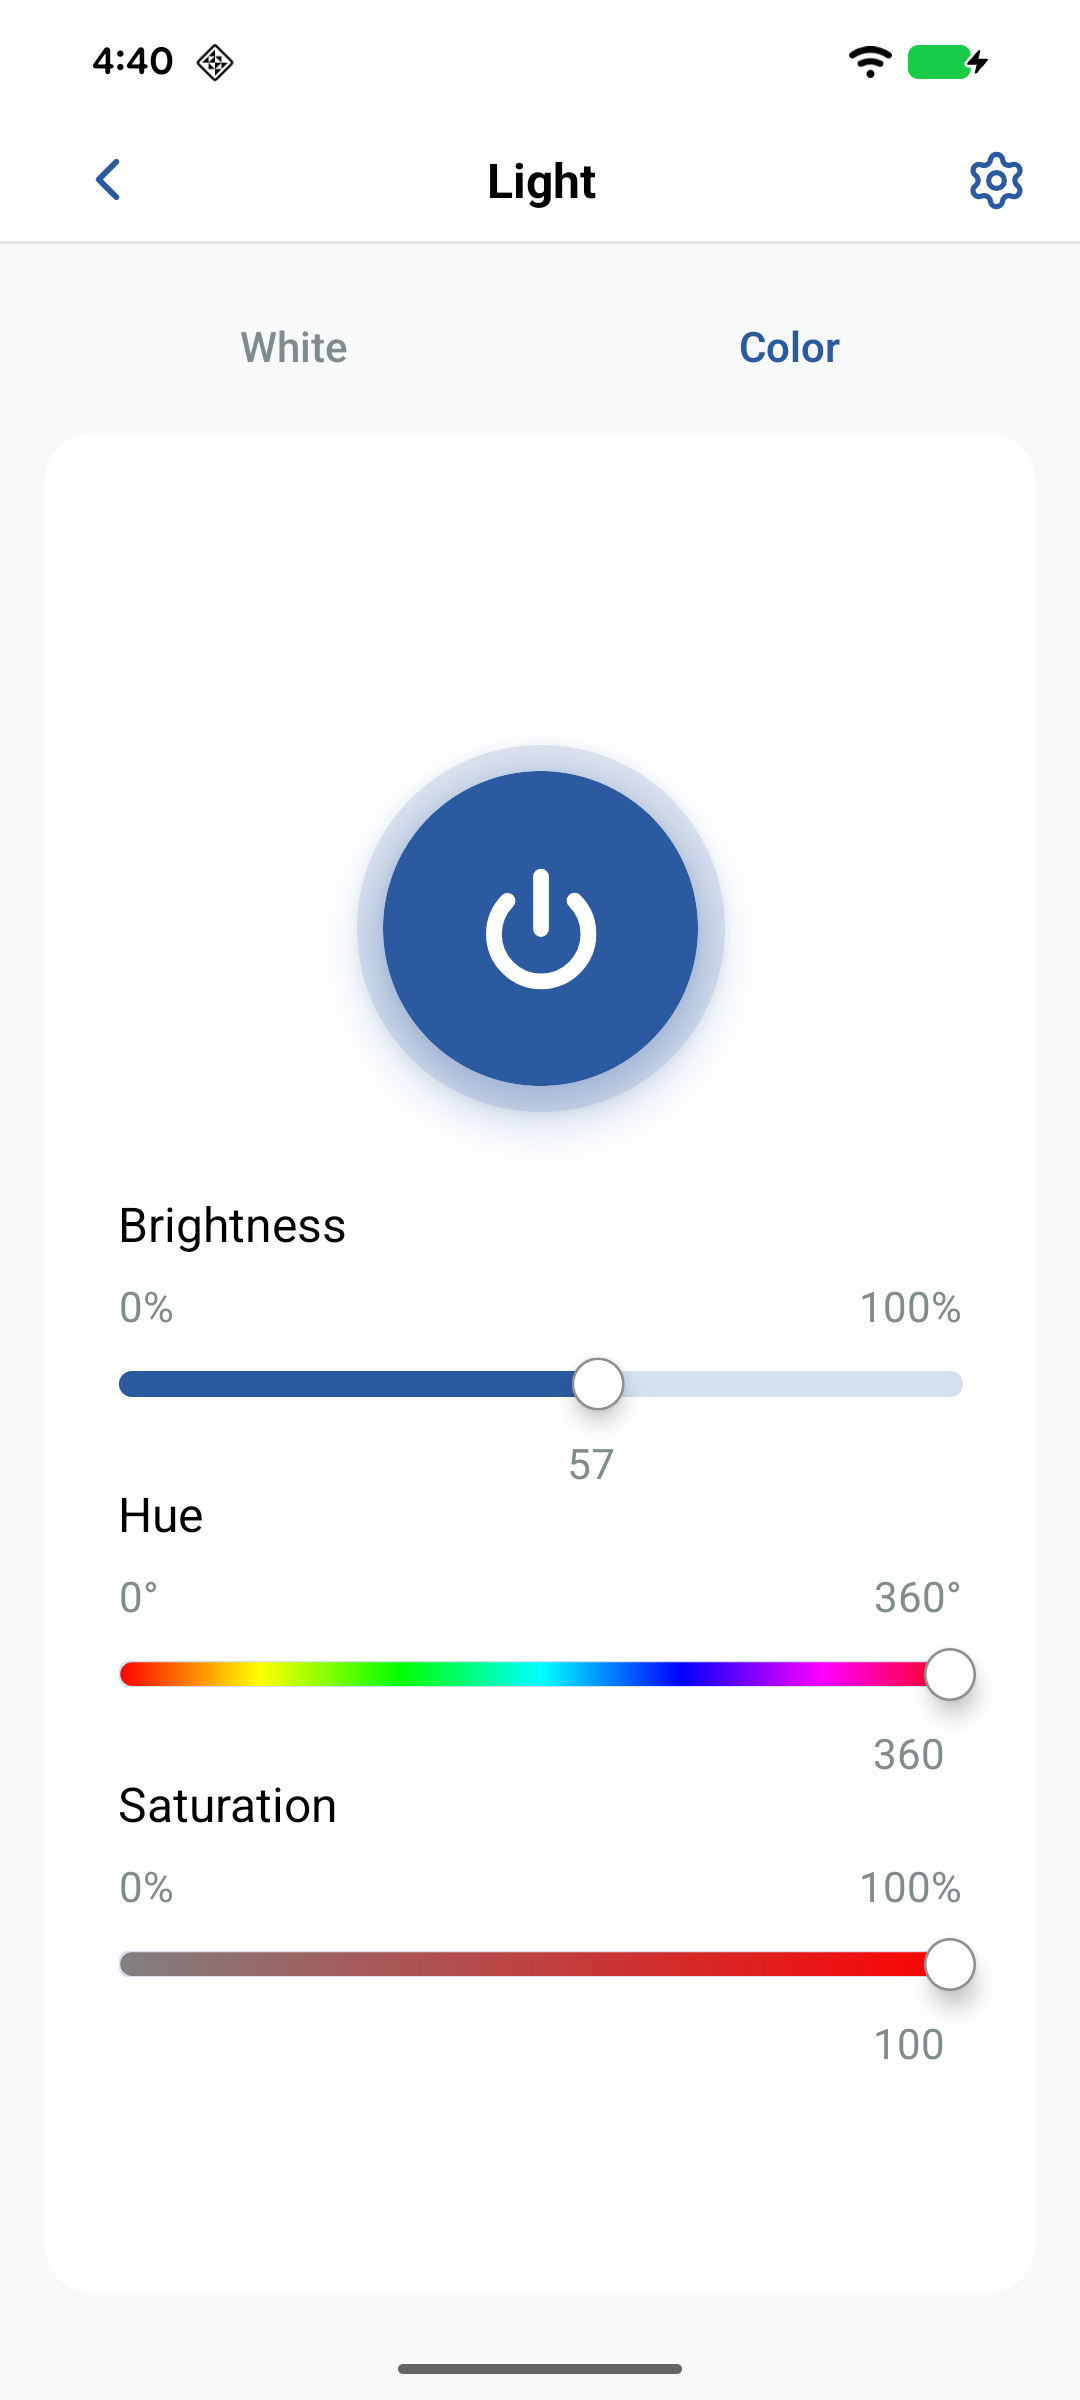
- On the Home page, tap the device to open its control screen.
- Tap the Settings (gear) icon in the upper-right corner.
- Scroll down and tap Remove Device.
- Tap Remove to confirm. The app factory-resets the device when supported, then removes it from your account.
Room management
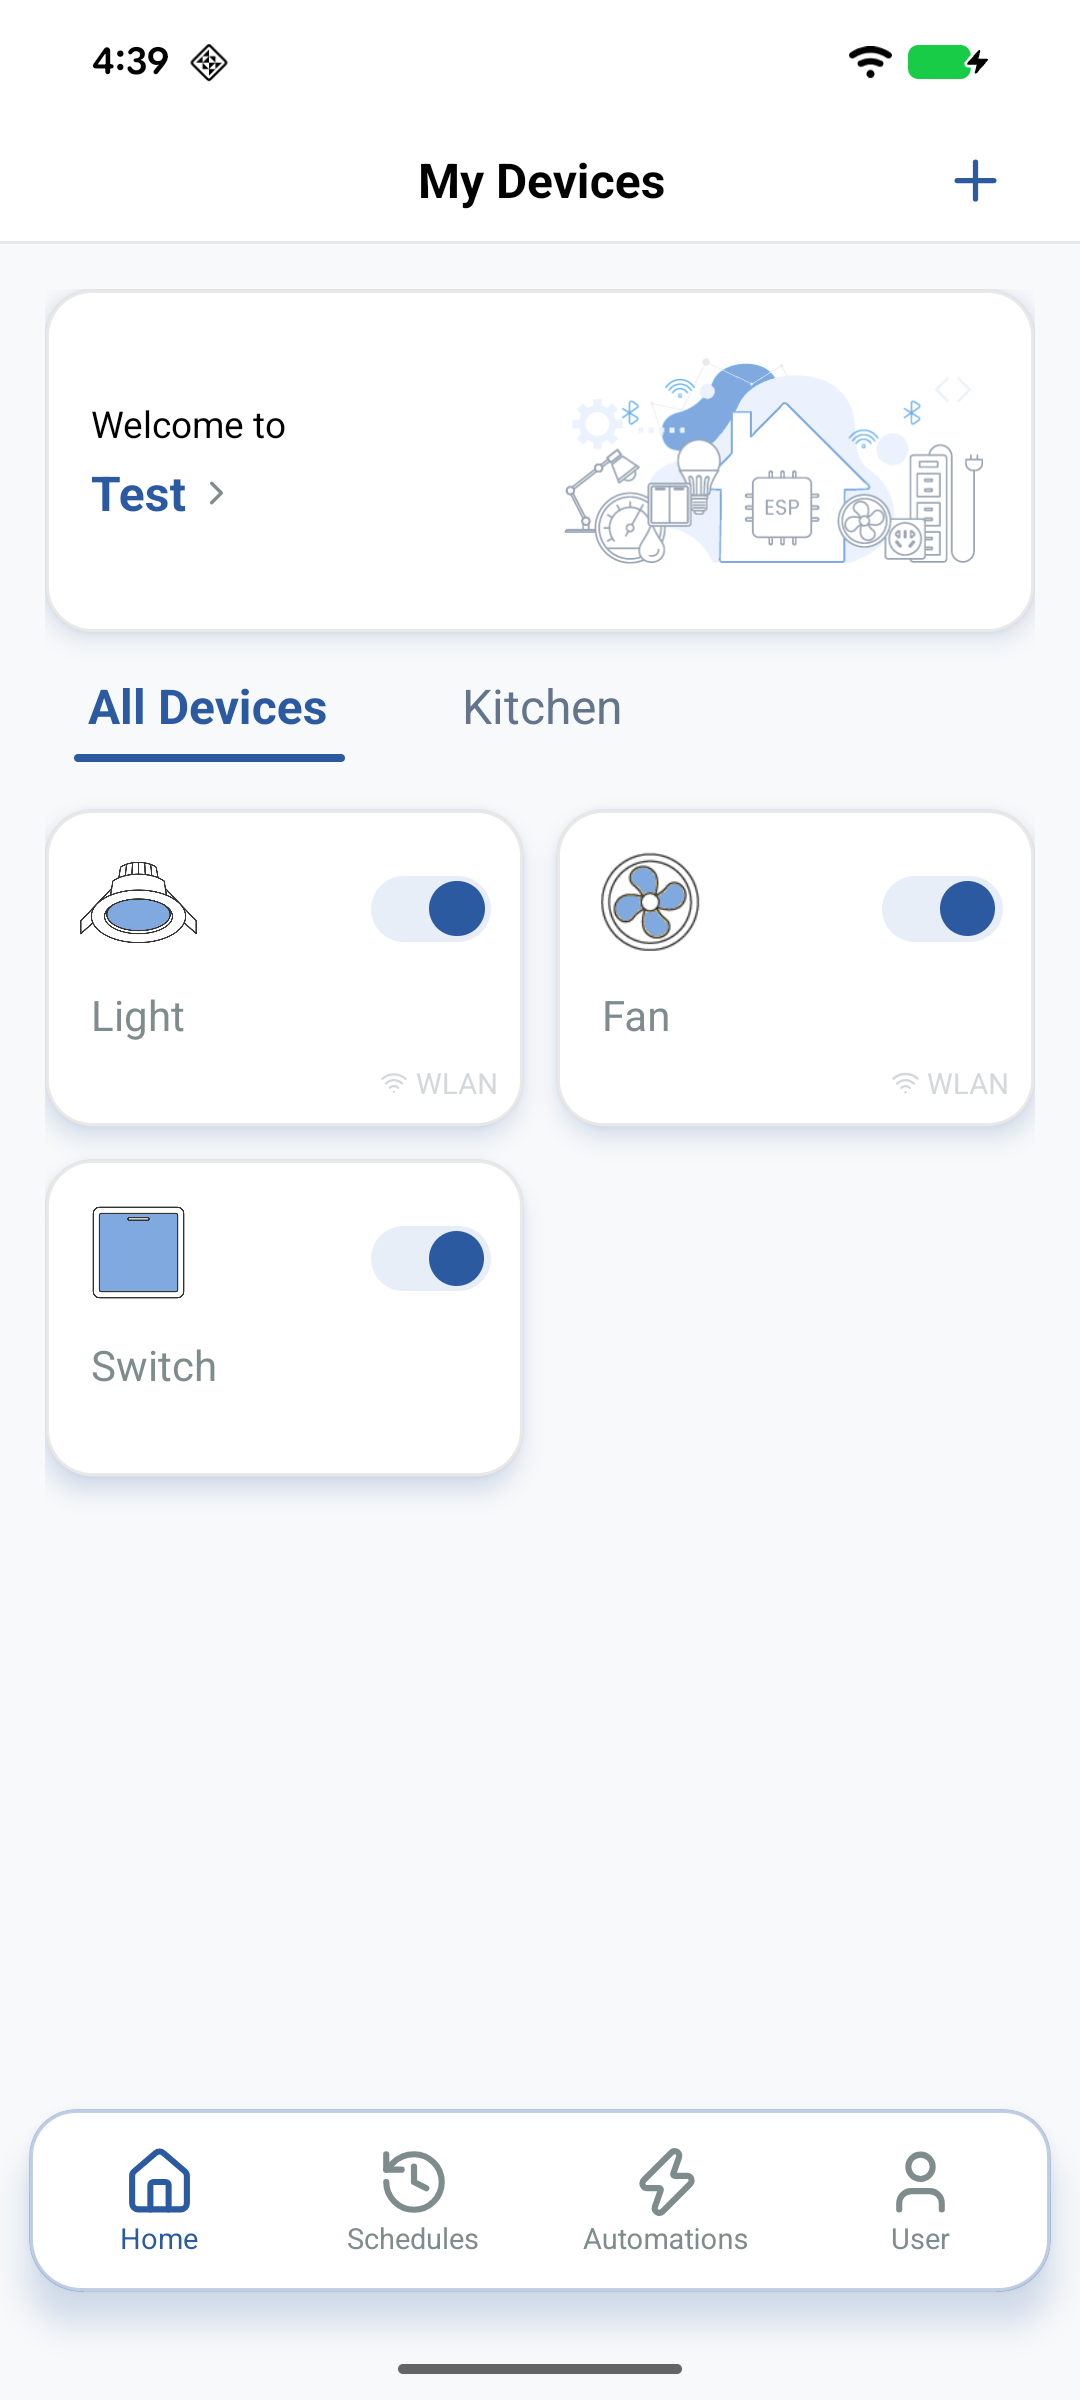
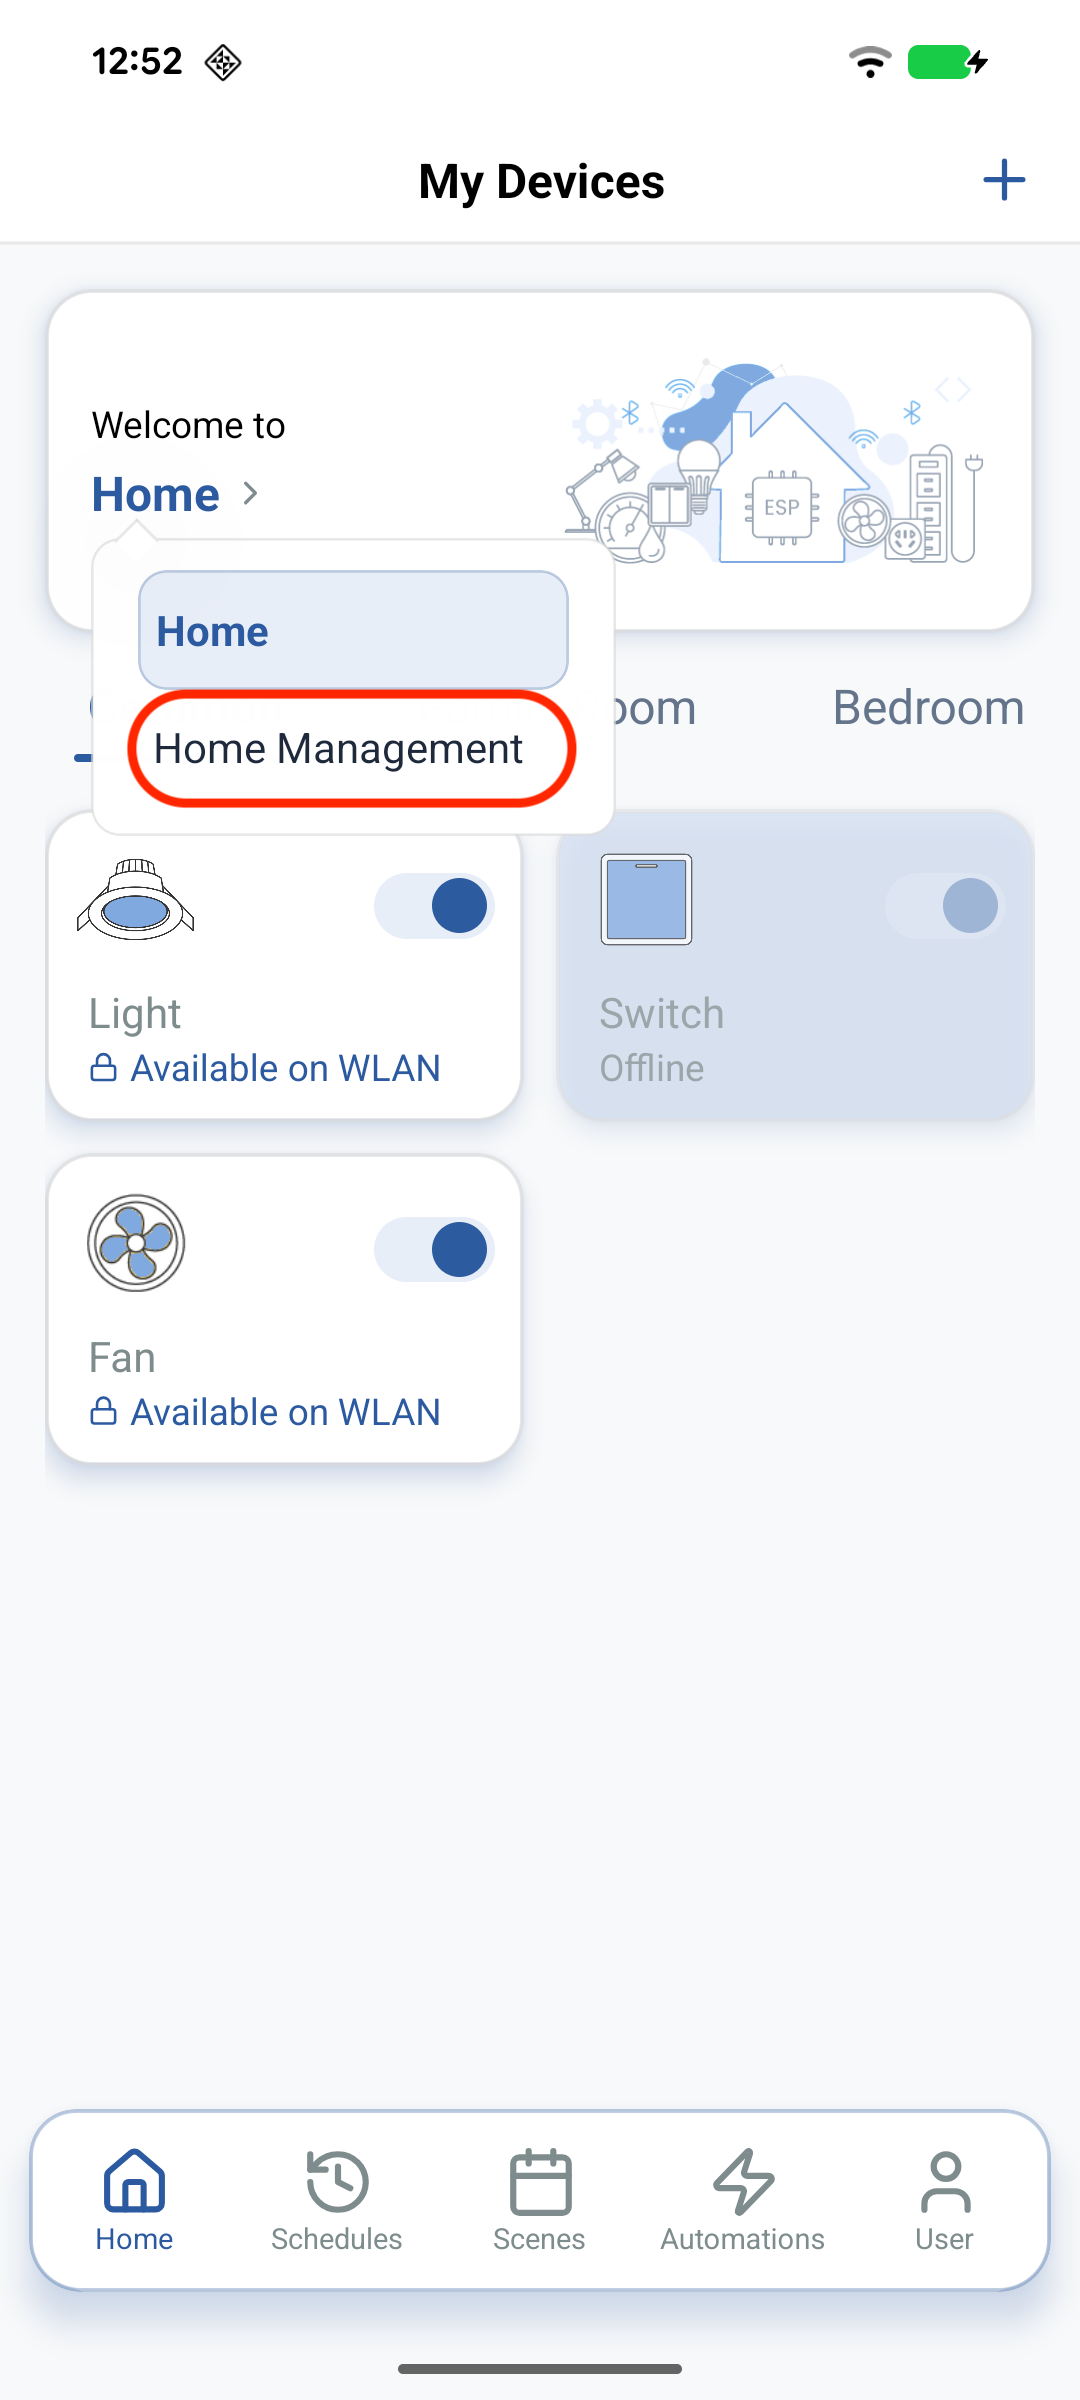
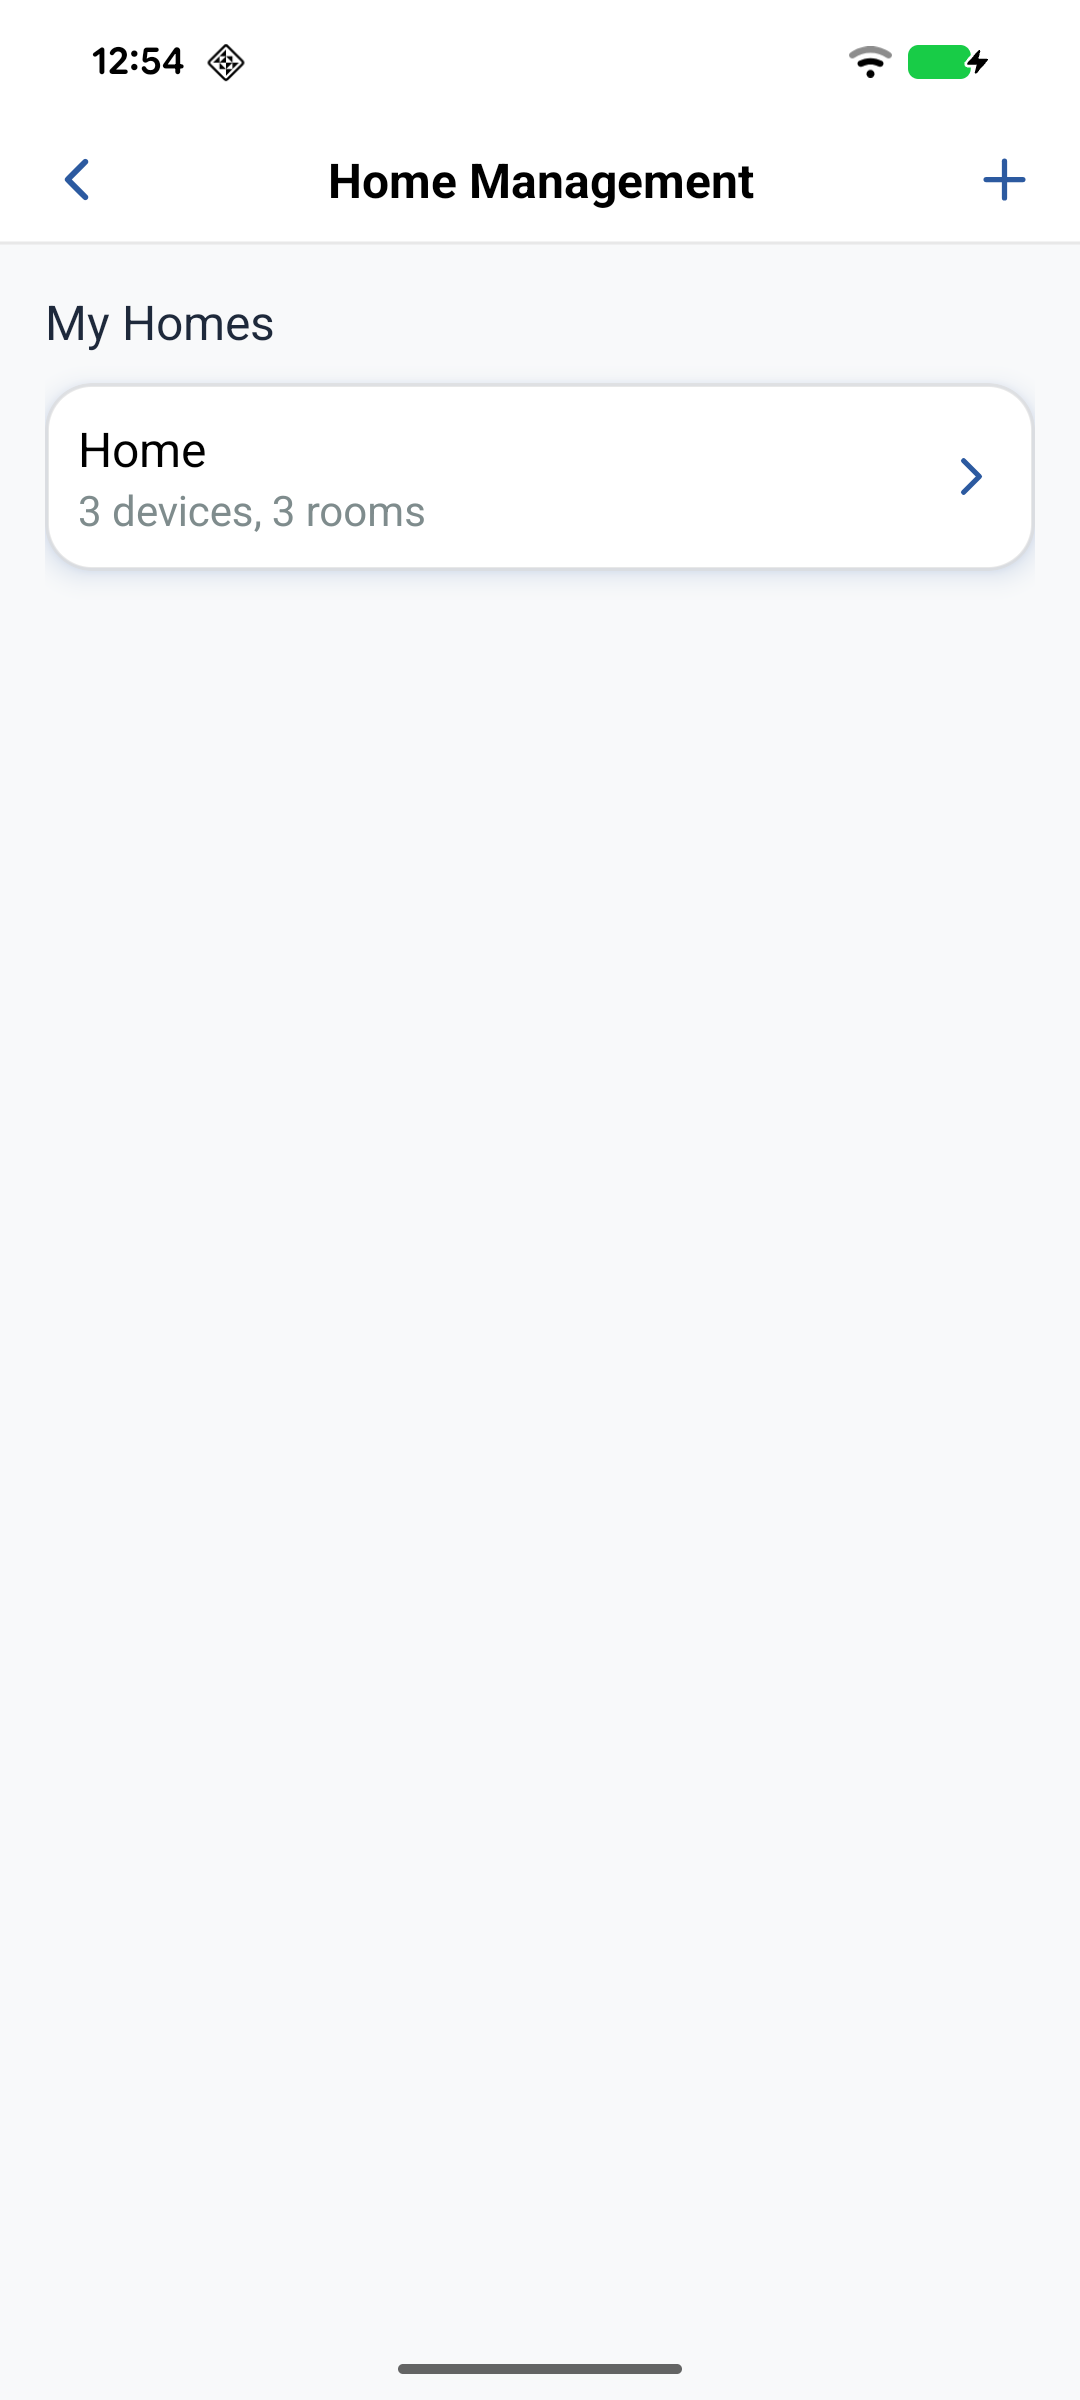
- Tap the home name on the Home screen (the banner reads Welcome to plus the home name, often Home), then tap Home Management.
- Select the Home, then tap Room Management.
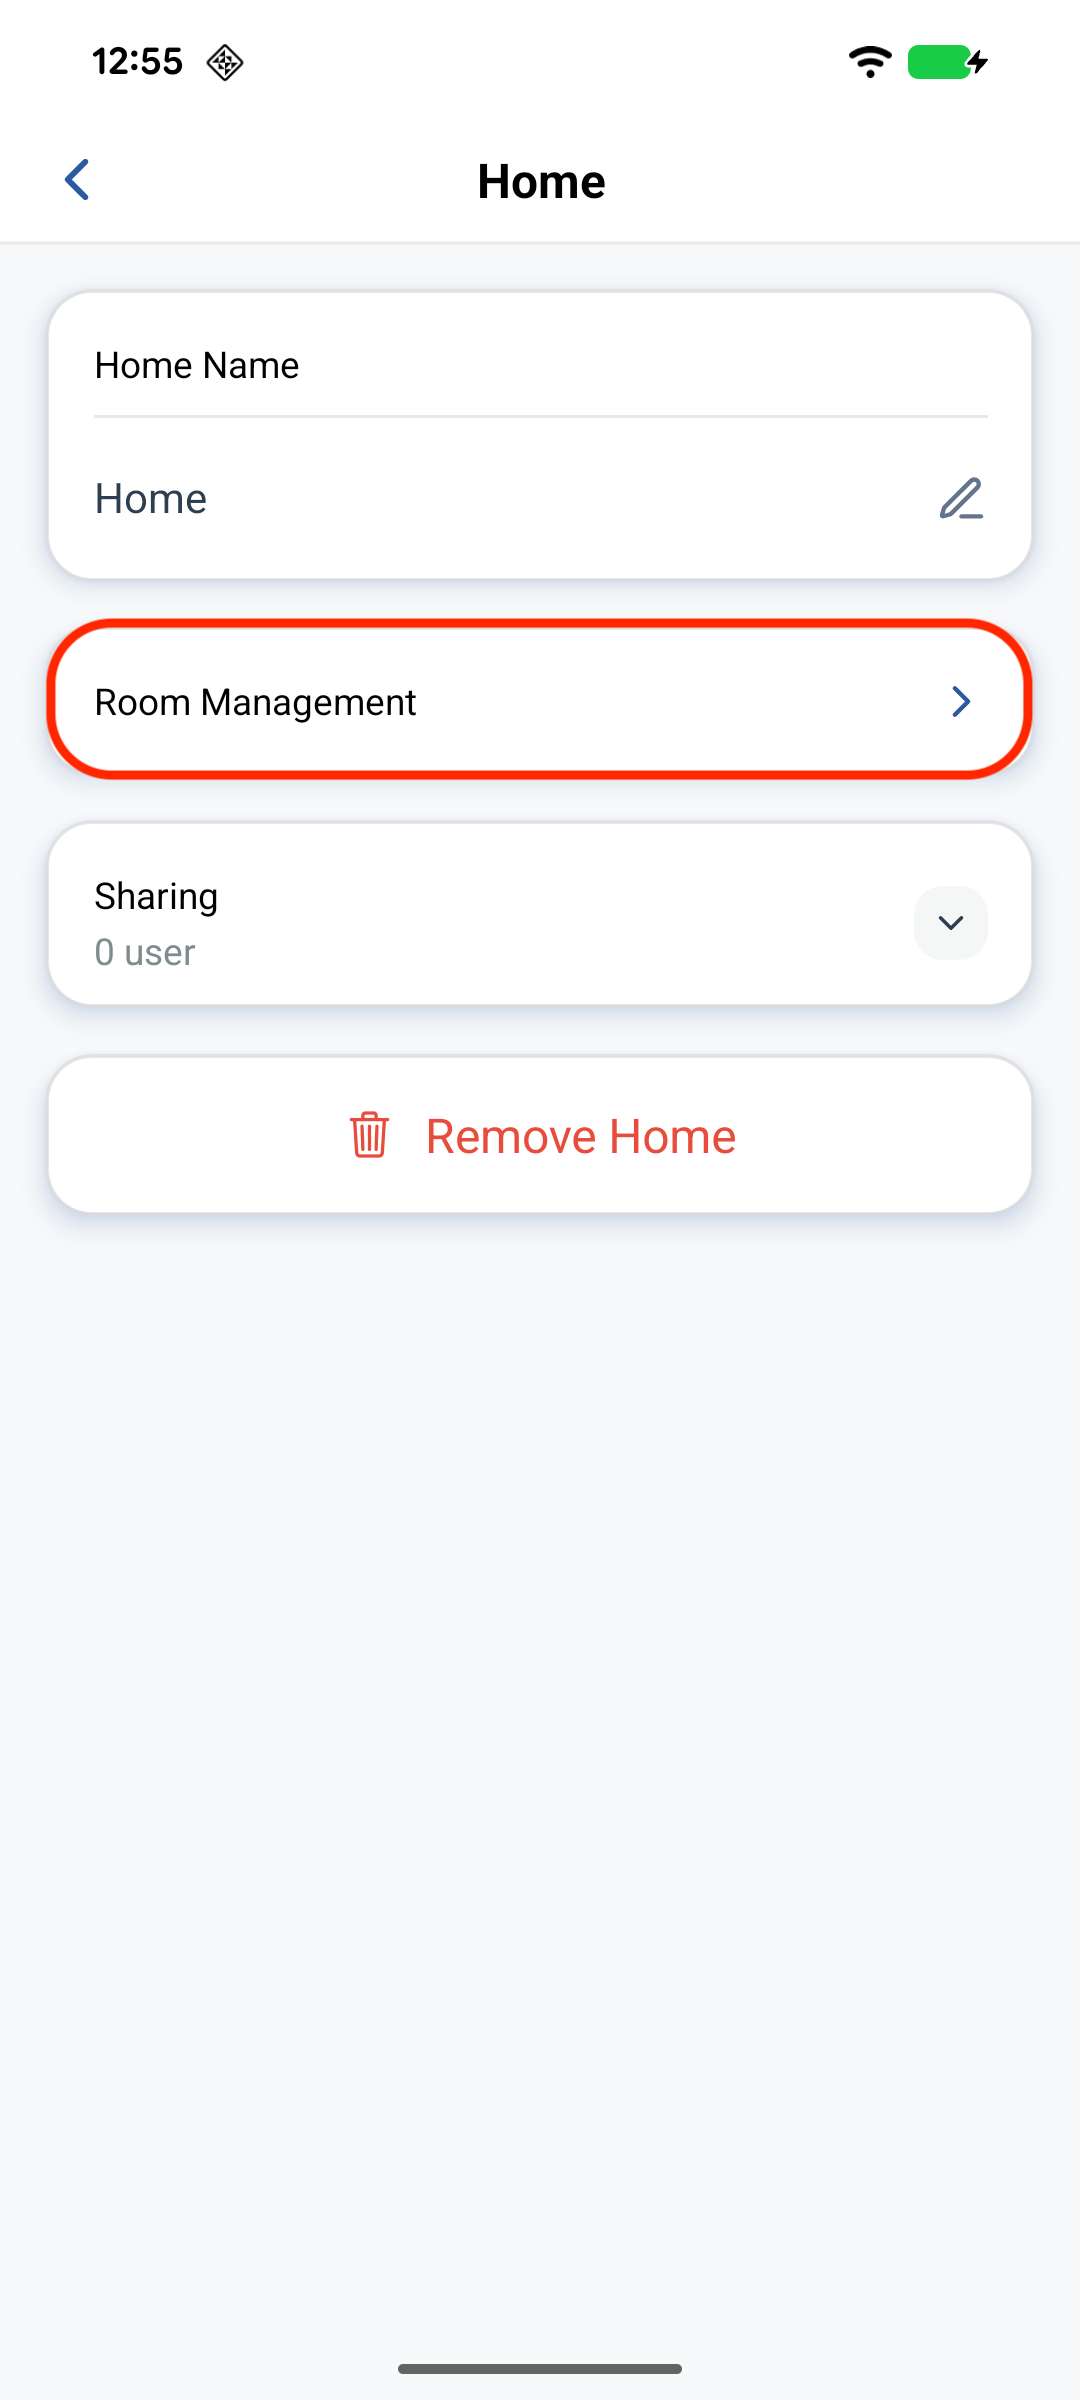
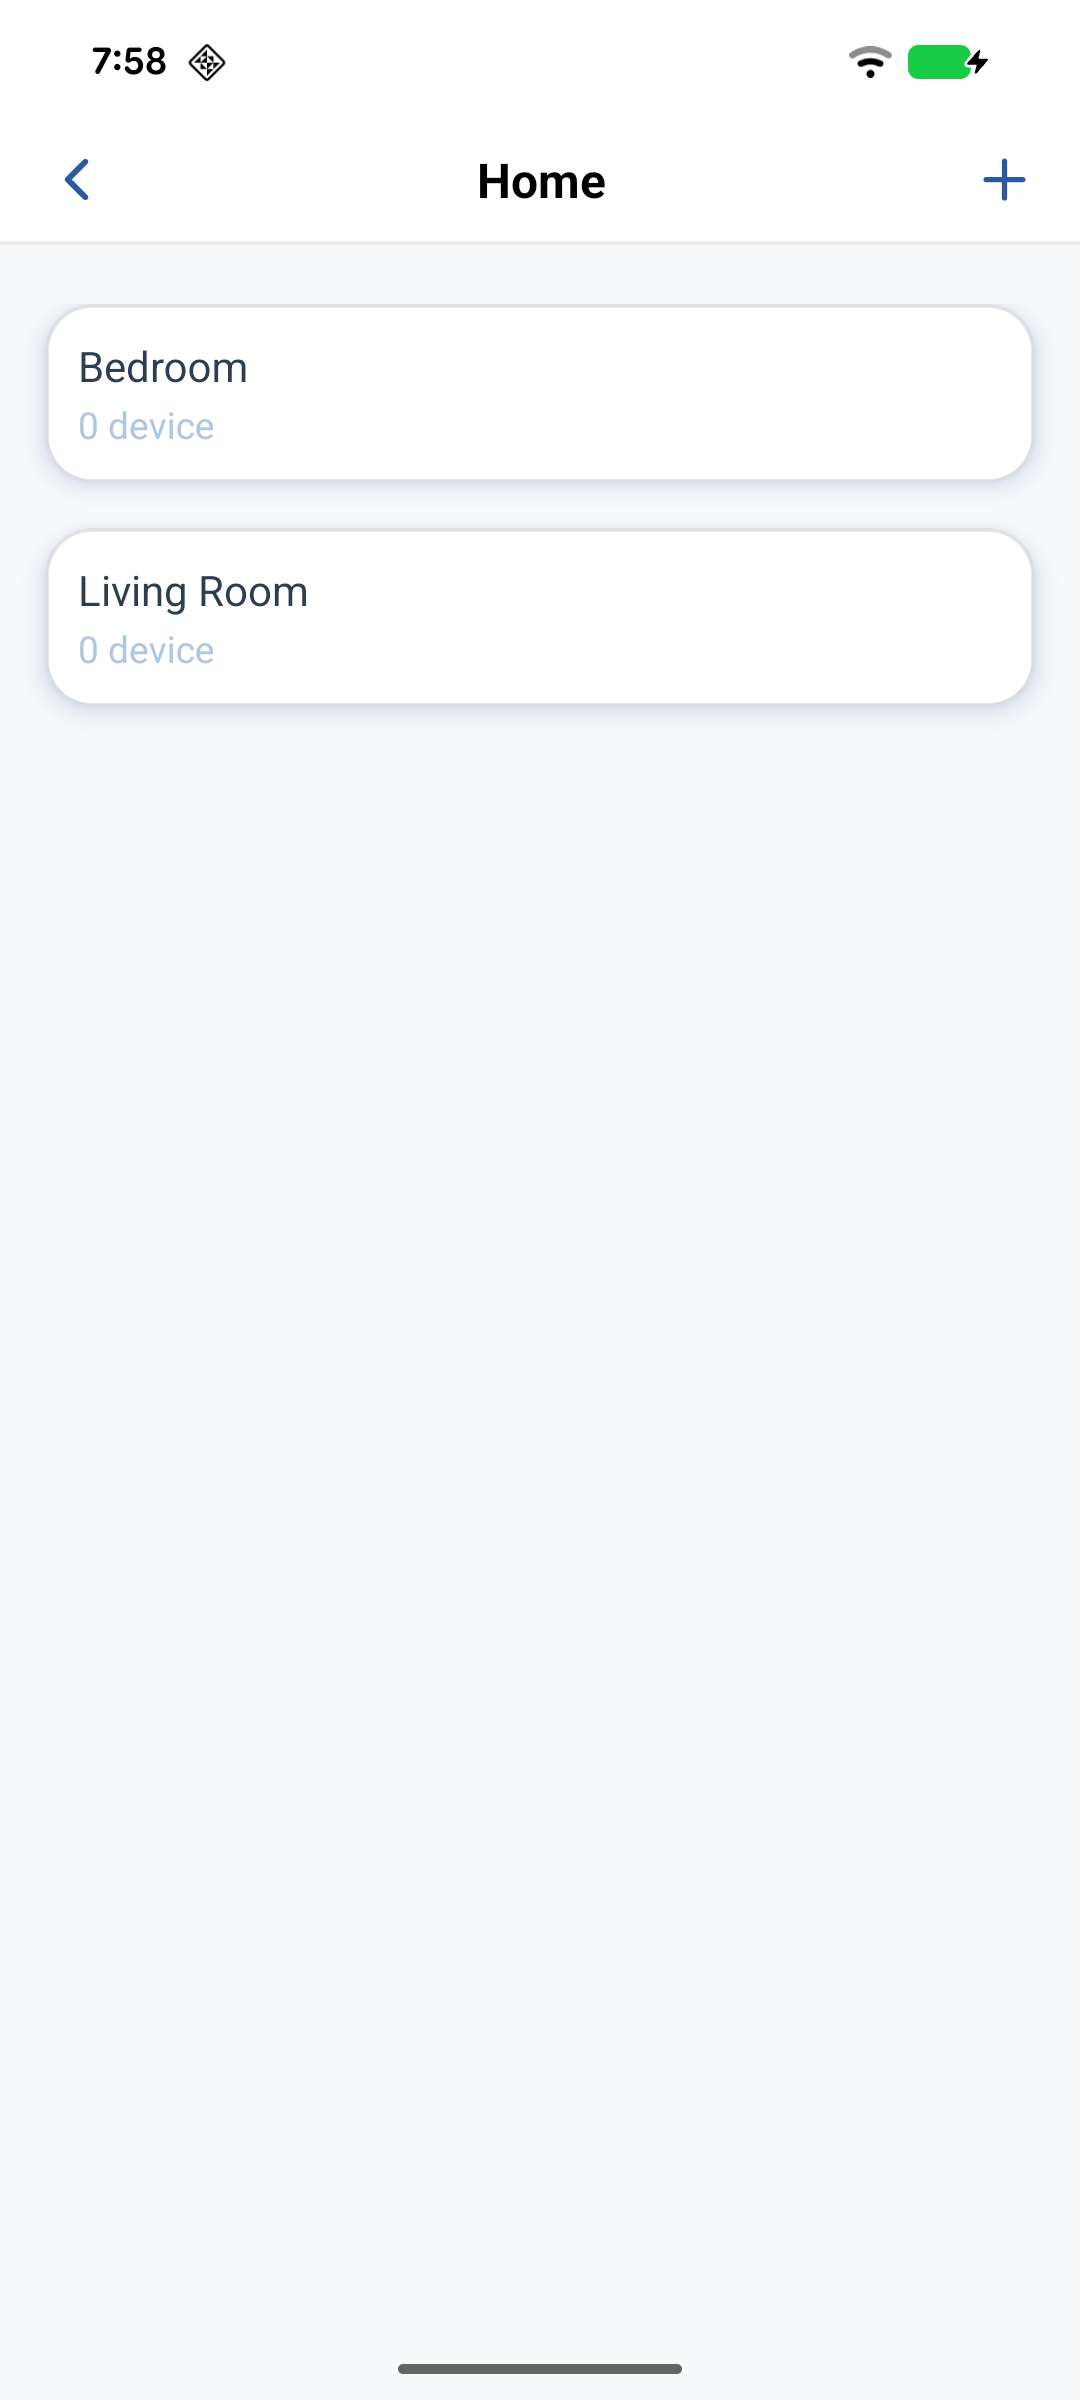
- Tap + to create a room.
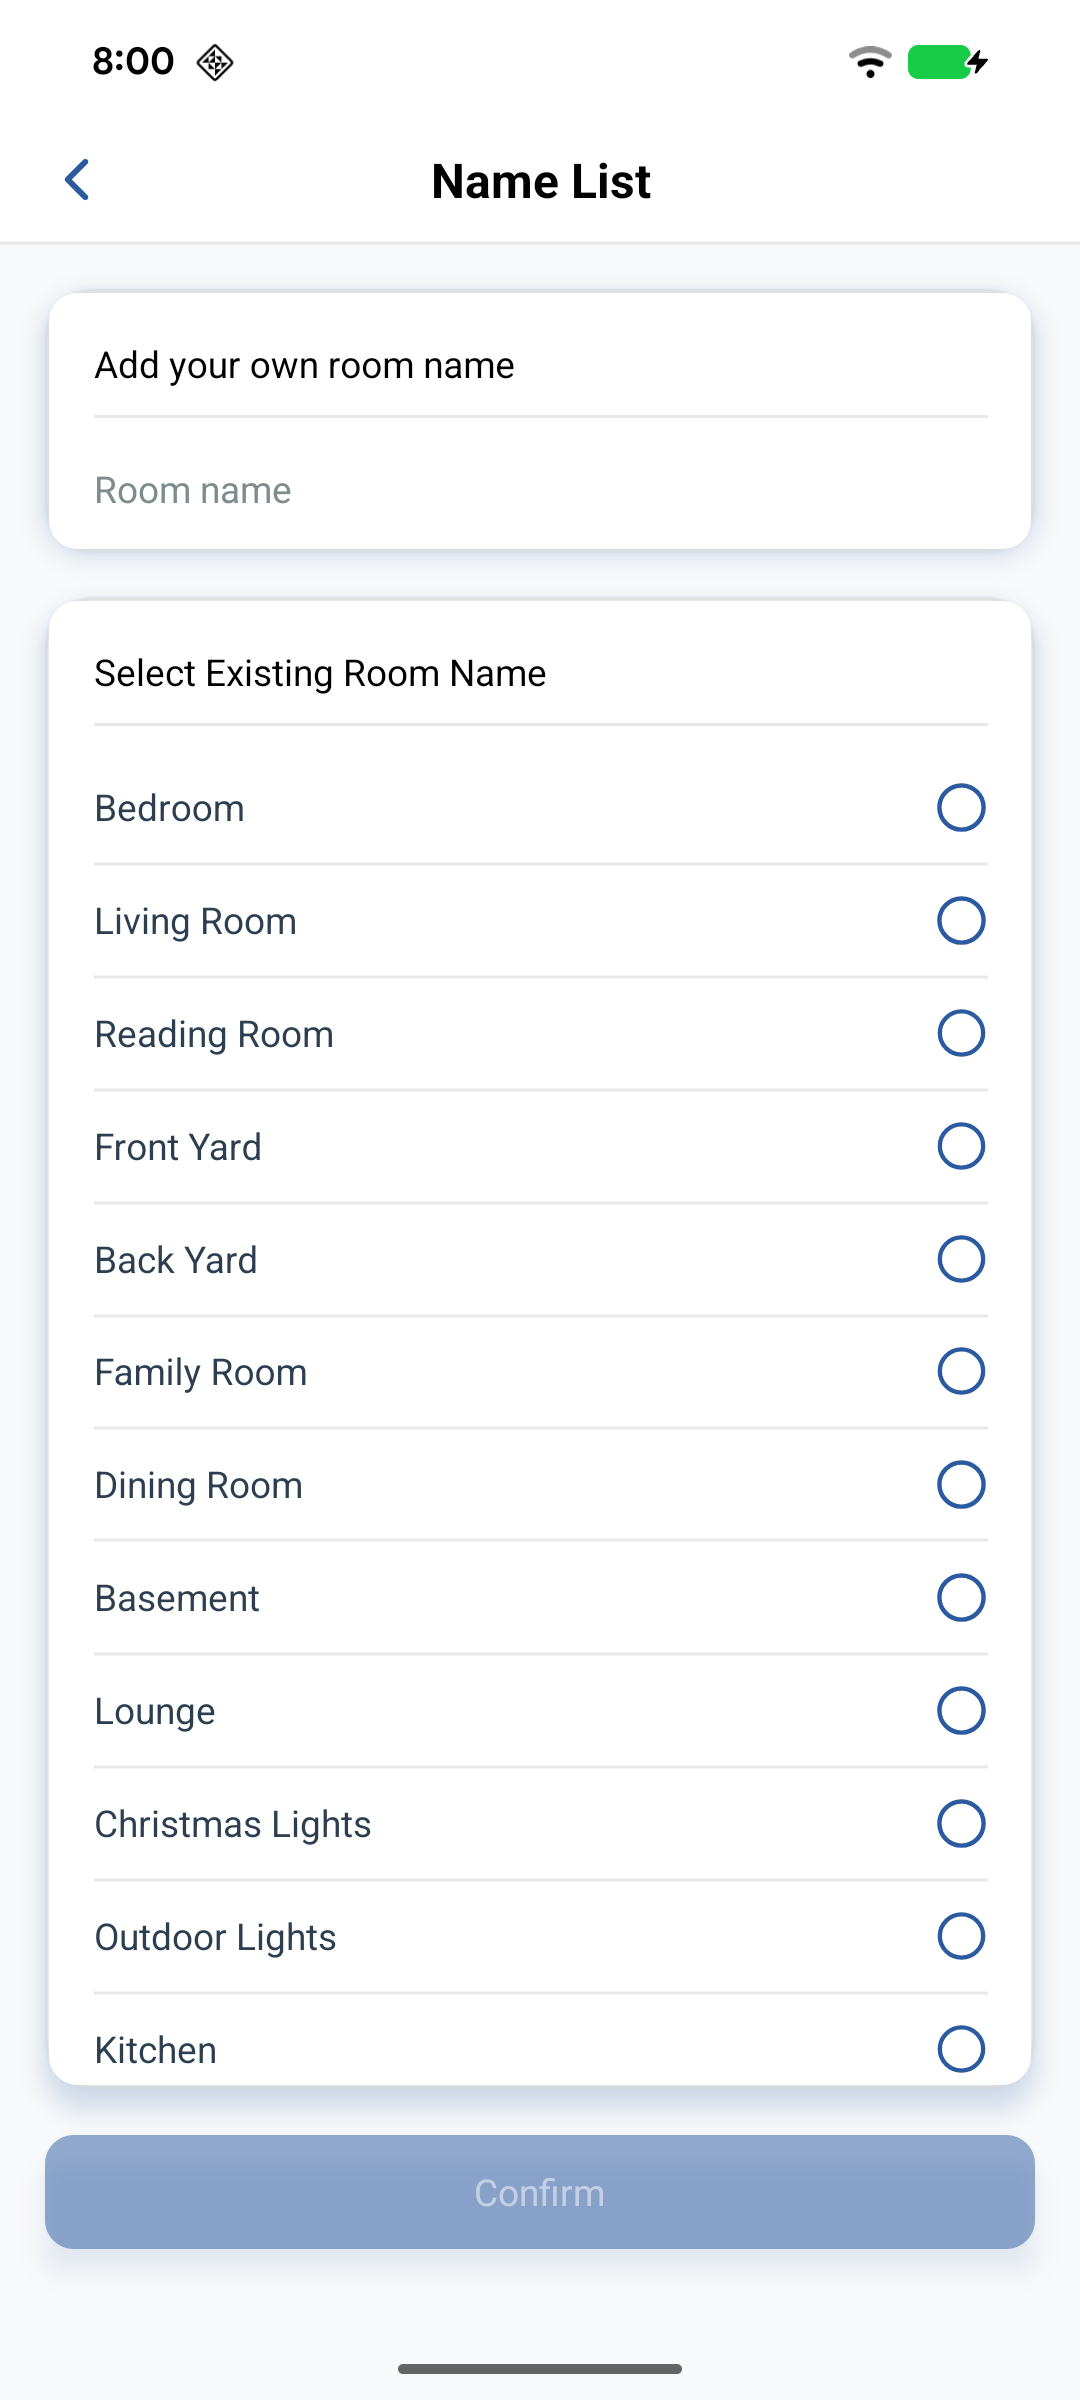
- Tap Room Name and pick a suggestion or enter a custom name.
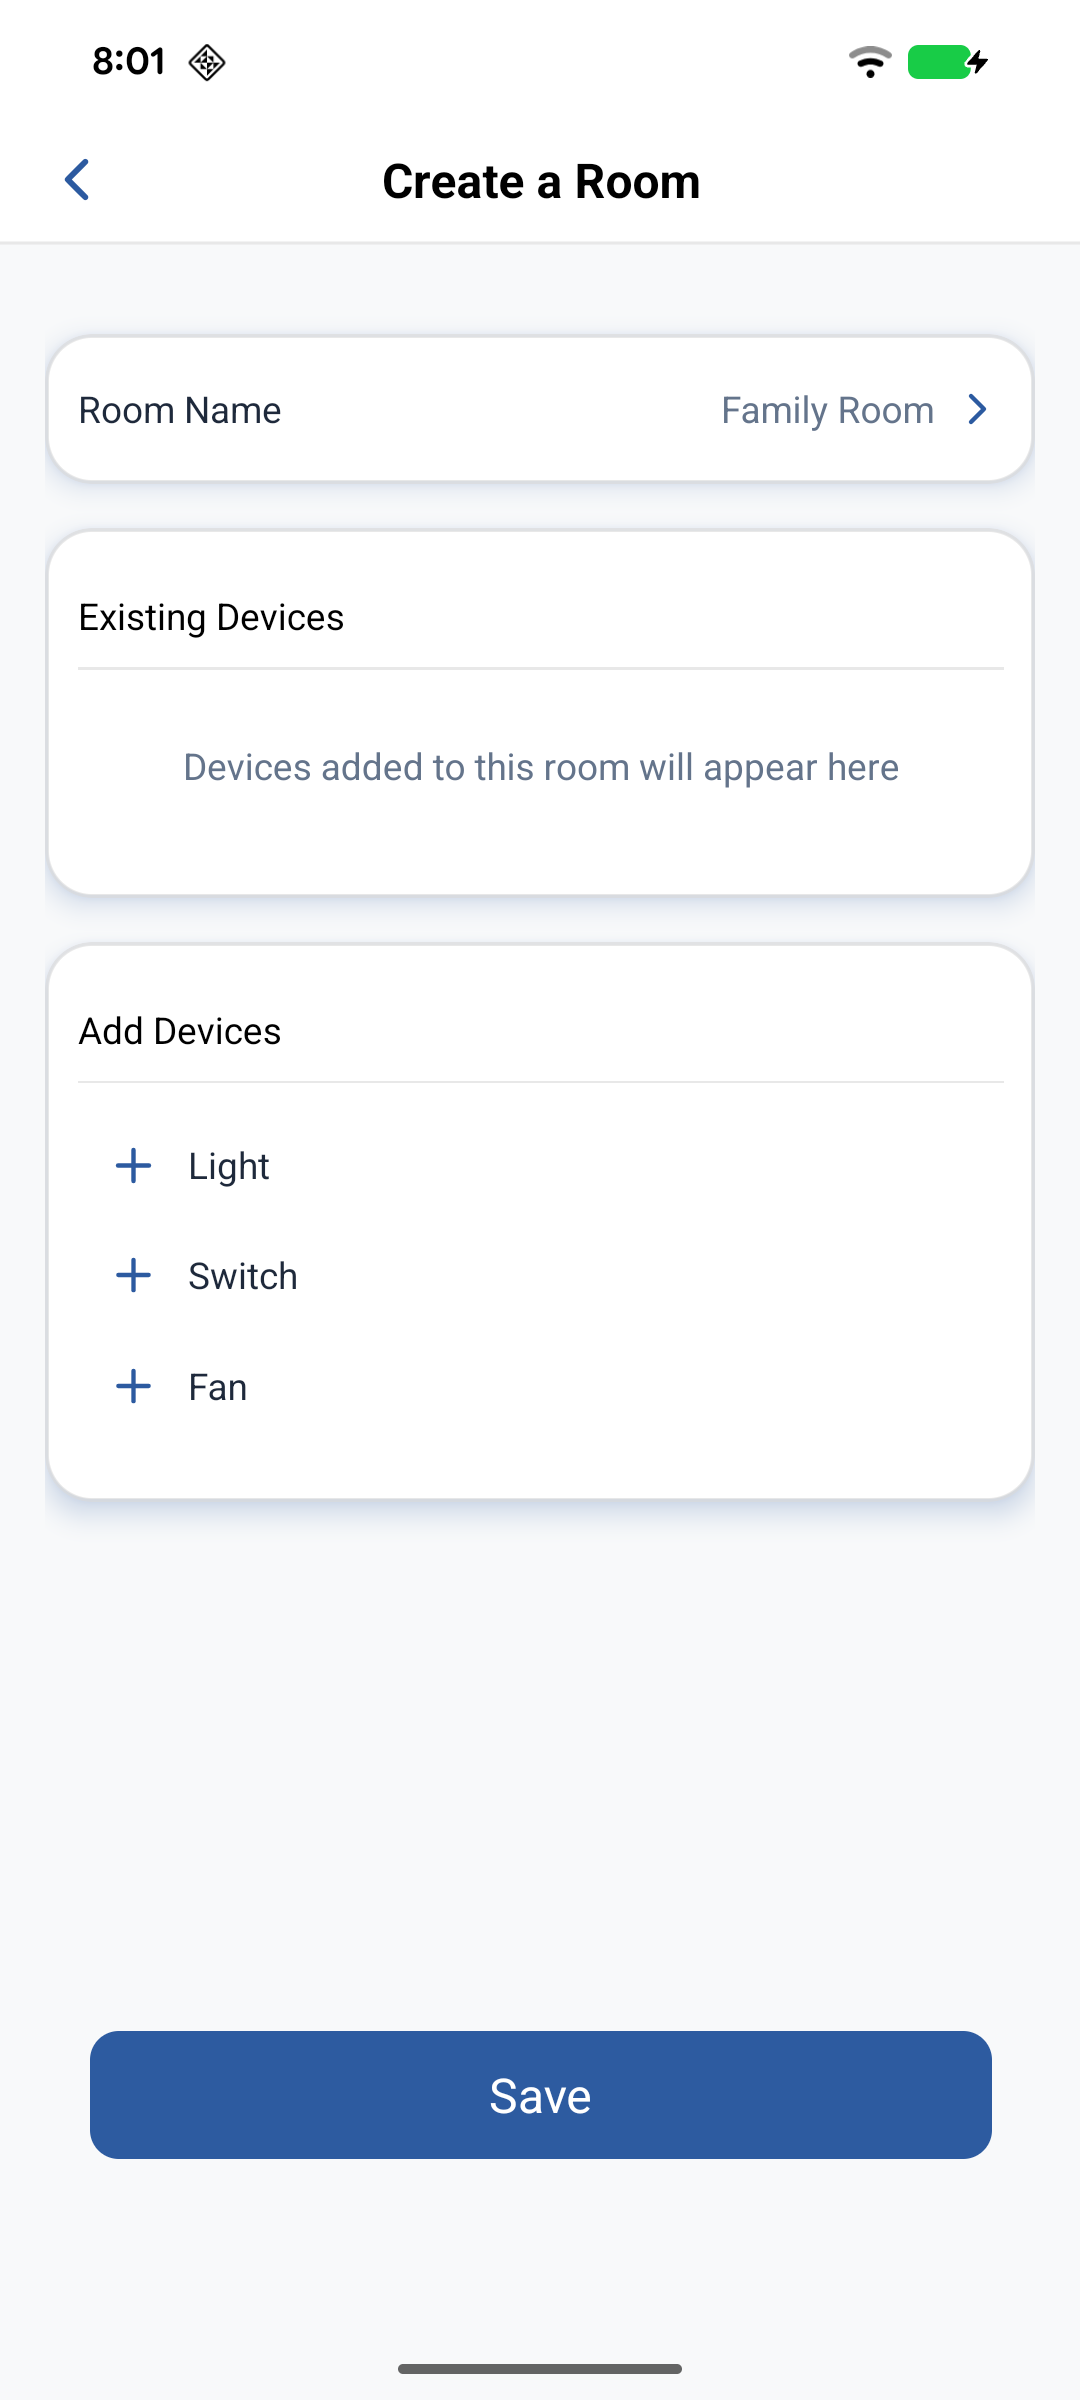
- Select devices under Add Devices, then tap Save. A room tab appears on the Home page under All Devices.
Add or remove devices in a room
- On the Home screen, open the room from its tab (next to All Devices), or return via Home Management → Room Management.
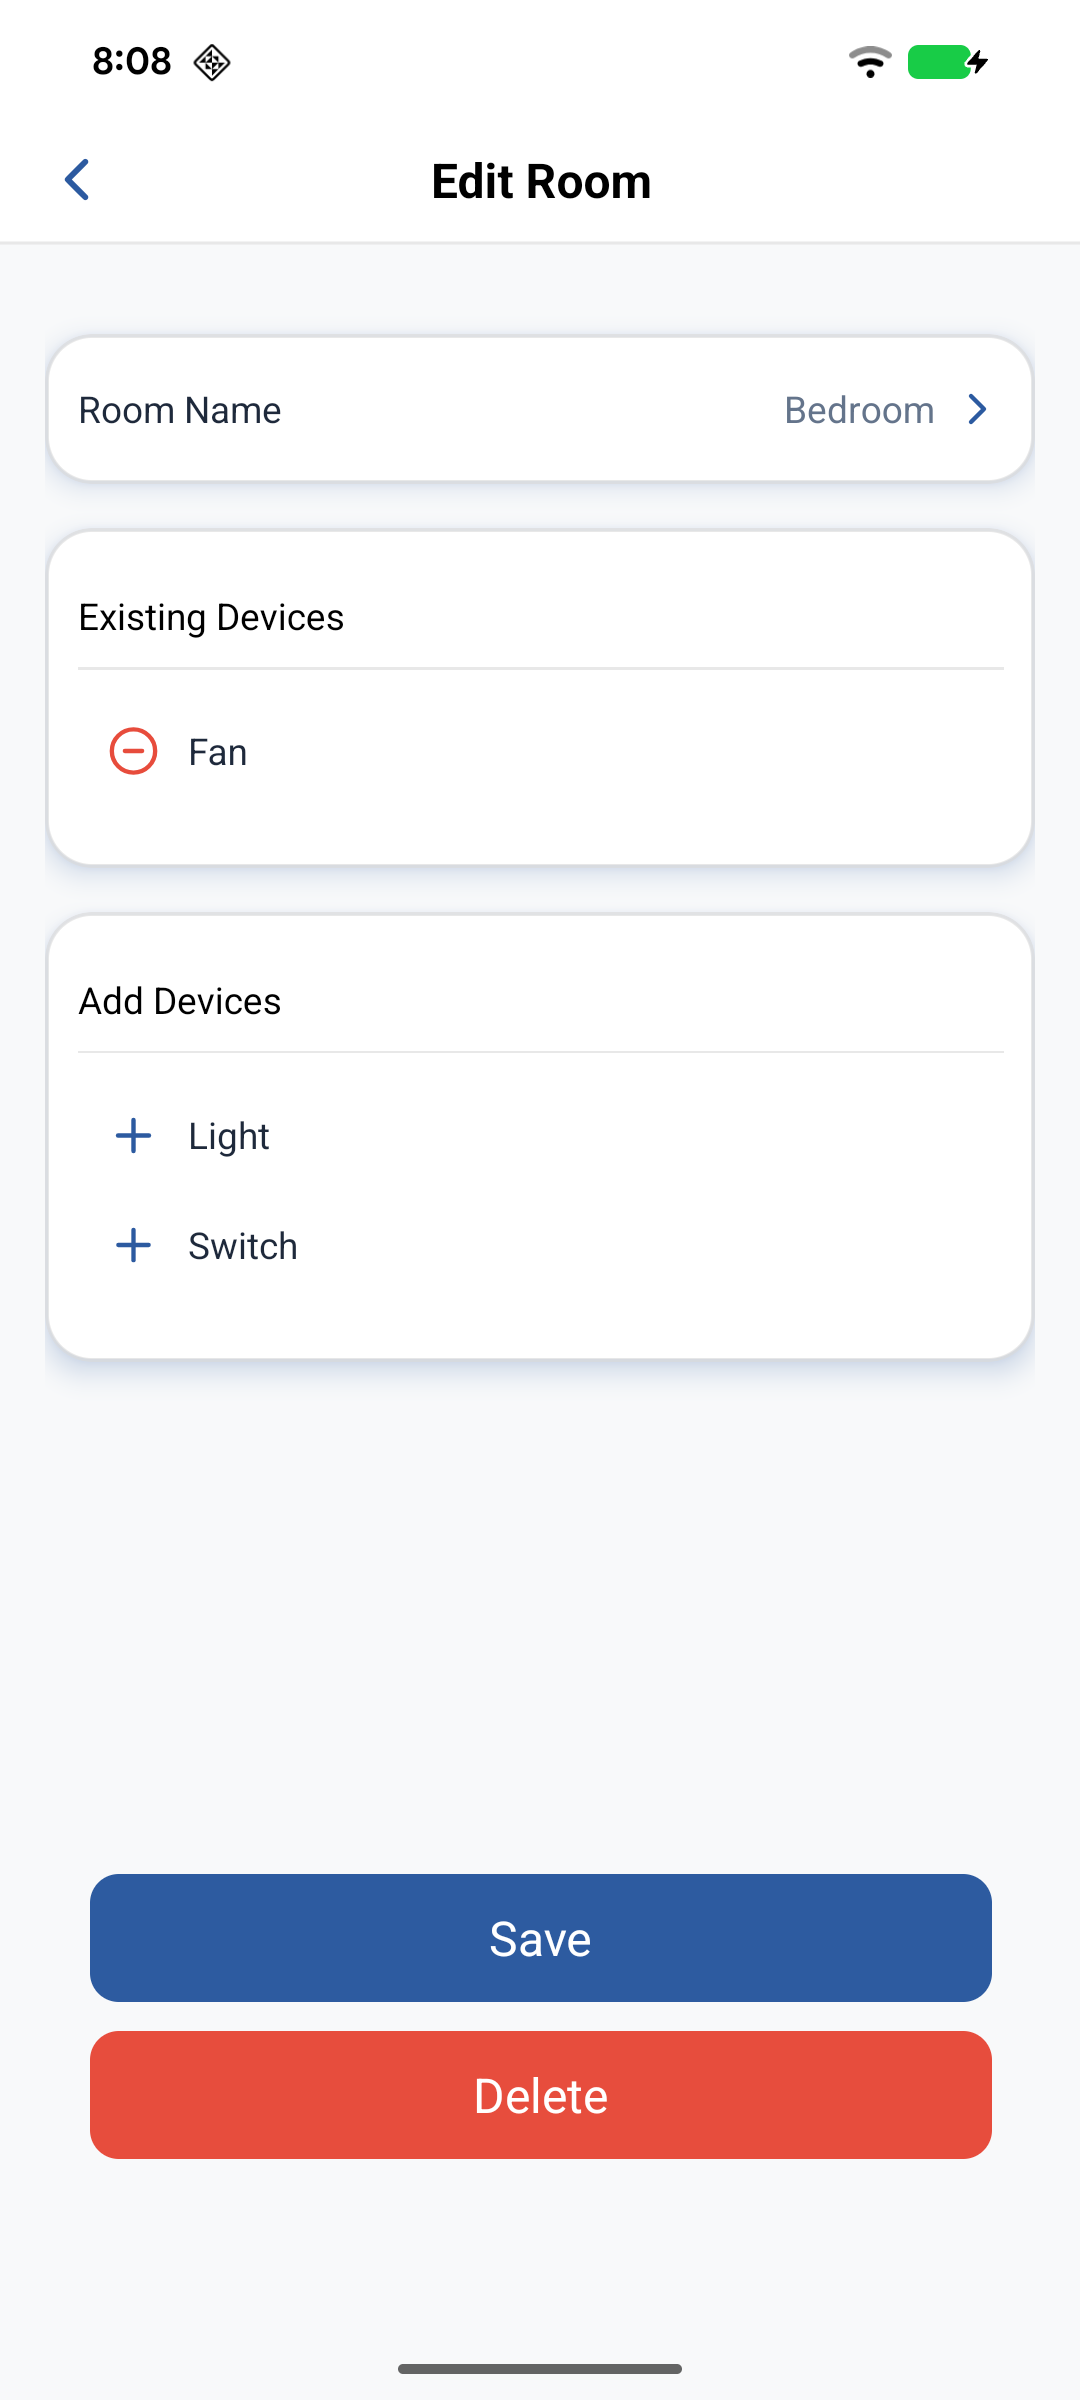
- Tap Settings or Edit Room.
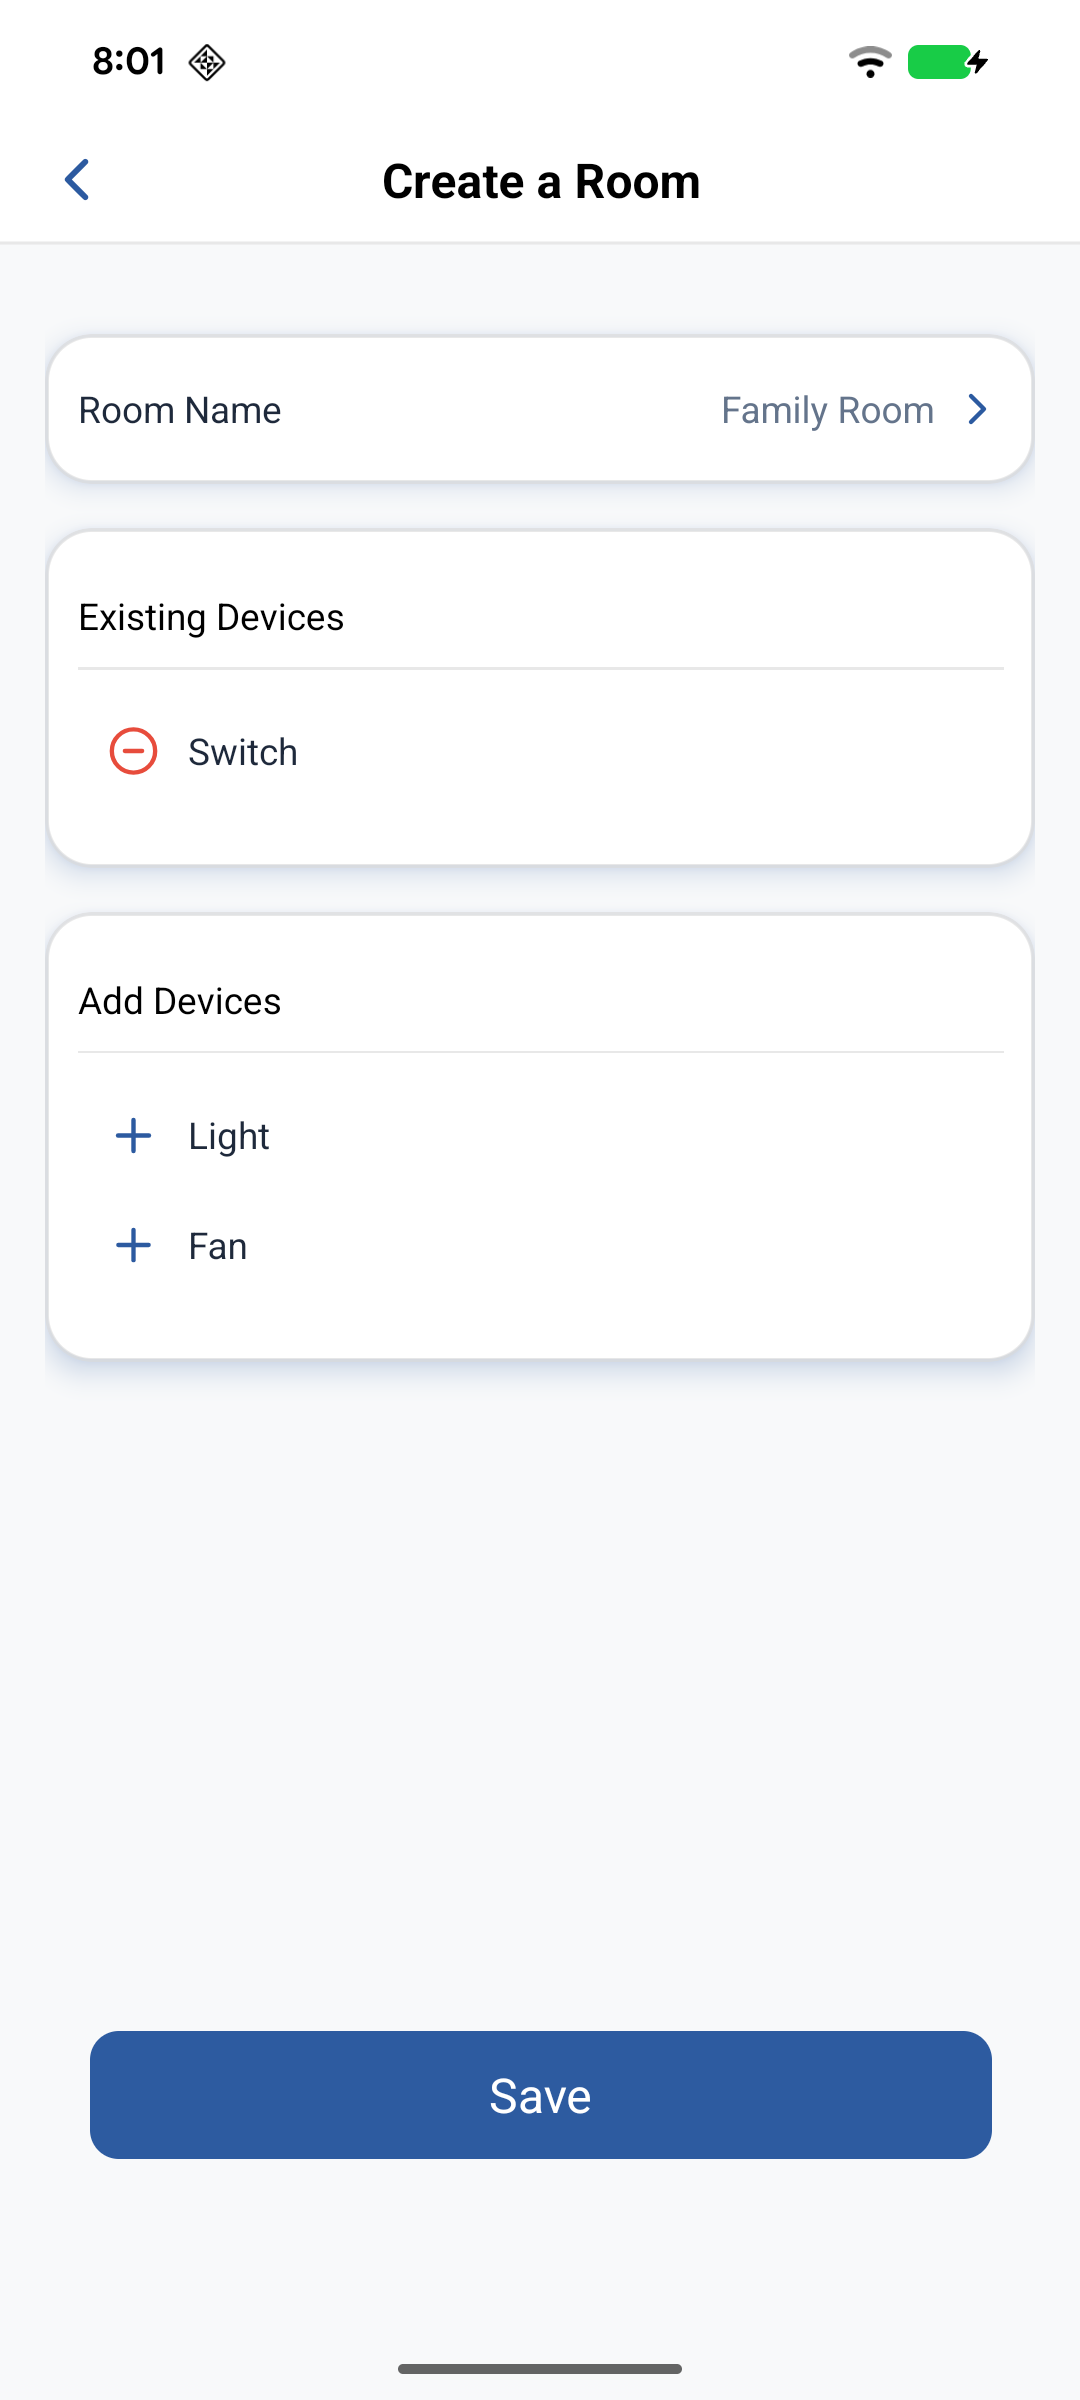
- Use − under Existing Devices to remove, or + under Add Devices to add. Rename via Room Name if needed.
- Tap Save.
Voice assistants
Against Neo, the stock app does not show Voice Assistants and Integrations under User. For the evaluation skill, the Google Home test action and the SmartThings connector, link from the Alexa, Google Home and SmartThings apps instead — see Link Alexa, Link Google Home and Link SmartThings.
Related
- Get started — account and sign-in
- Device control — operate provisioned devices
- RainMaker Home phone app — Neo first-device path